
Measuring Grader Edge Wear: Replacement Triggers by Machine Class
Measuring grader cutting edge wear properly is what separates a planned replacement from a road call. Most fleets replace edges when an operator says the machine will not cut, which is the latest possible…
Measuring grader cutting edge wear properly is what separates a planned replacement from a road call. Most fleets replace edges when an operator says the machine will not cut, which is the latest possible point at which the decision can be made and the most expensive. A measured replacement trigger removes the judgement call: the edge is changed when it reaches a defined condition, on a schedule that can be planned into workshop capacity rather than absorbed as a road call in the middle of a storm.
What Changes as the Edge Wears
An edge wears in three ways at once, and only one of them is visible from the cab. Material is removed from the bevel and the underside, so the section thins. The tip radius grows, so the edge stops penetrating and starts riding. And the profile across the length becomes uneven, so the machine cuts on one portion of the blade and polishes the rest.
The third change is the one that costs the most and is noticed the least. An edge that is still cutting in the middle reaches its limit at the ends first, which is also where bending loads concentrate and where end bits take the load. Fleets that measure only at the centre of the edge consistently replace late, because the portion they are measuring is the last part to wear out.
There is a second-order effect worth understanding. As the tip rounds, the machine needs more down-pressure to achieve the same cut, and that extra pressure is transferred into the moldboard’s lip, the fasteners and the machine’s lift system. Running an edge past its useful profile does not just produce a poor road surface; it starts consuming the parts that are much more expensive to replace.
Measuring Points and Record Keeping
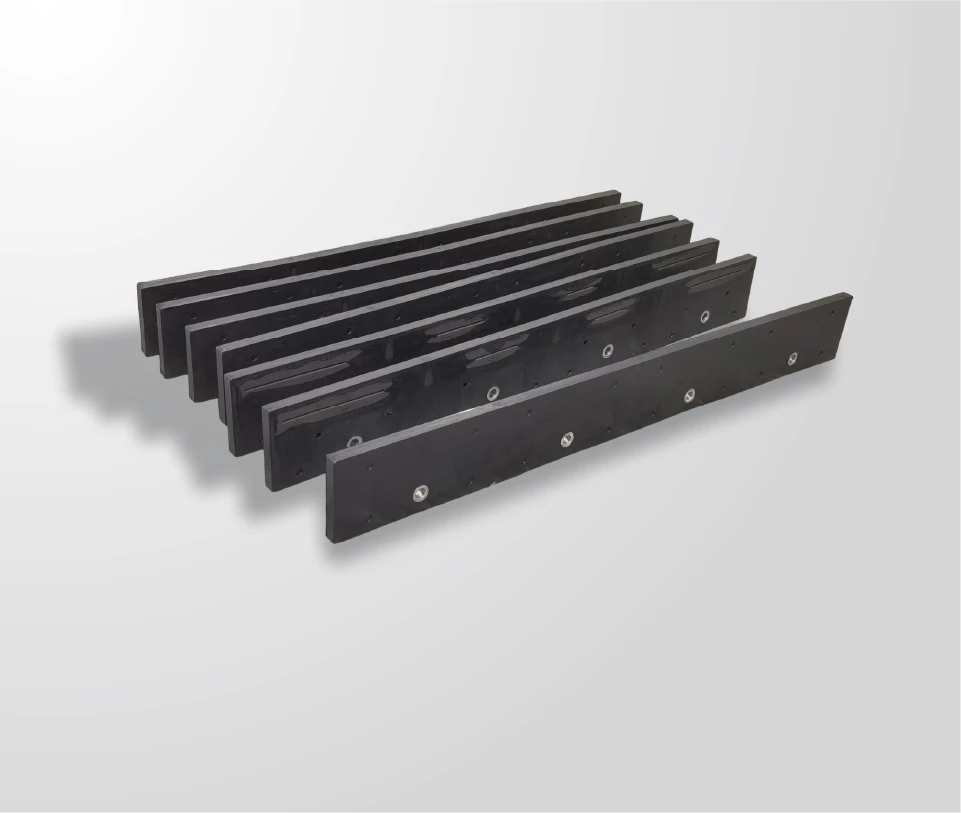
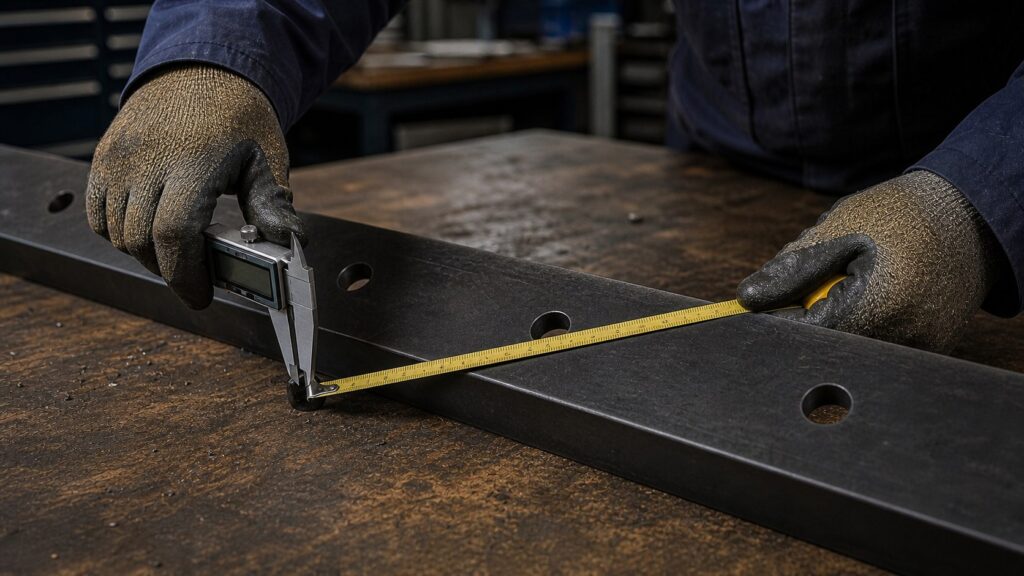
Three measurements capture the condition of an edge and take minutes to take: remaining section at the bolt line, remaining section at the cutting tip, and the tip radius or flatness. Add a photograph of the full edge with a tape measure in frame and the record is complete.
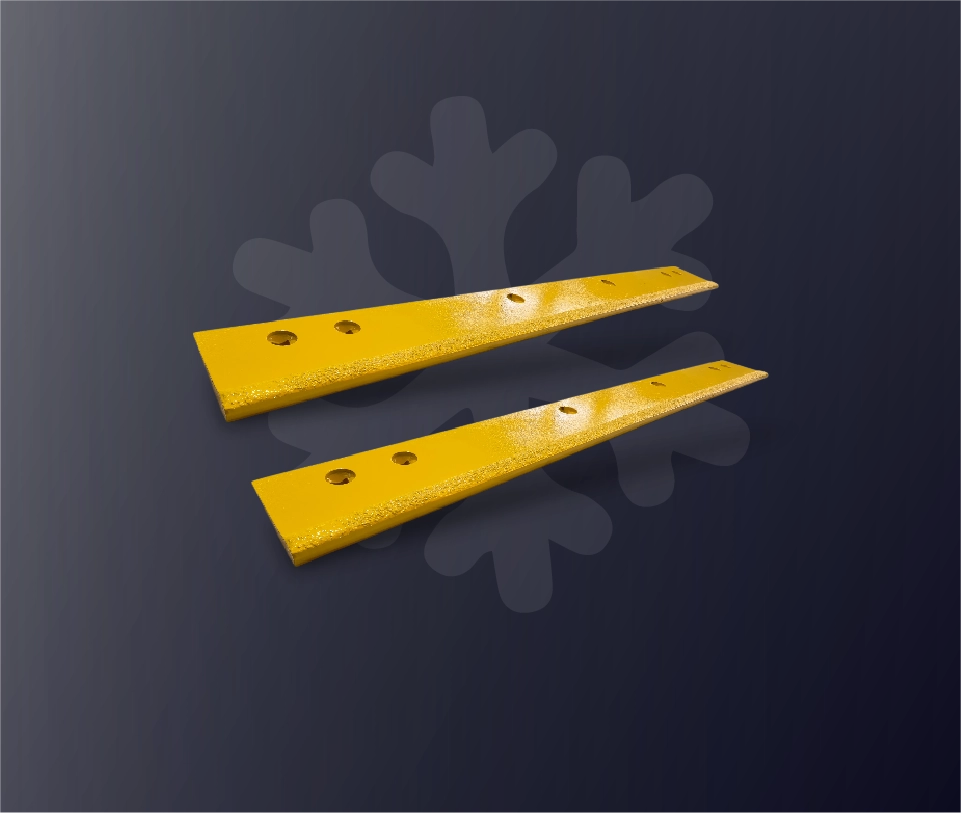
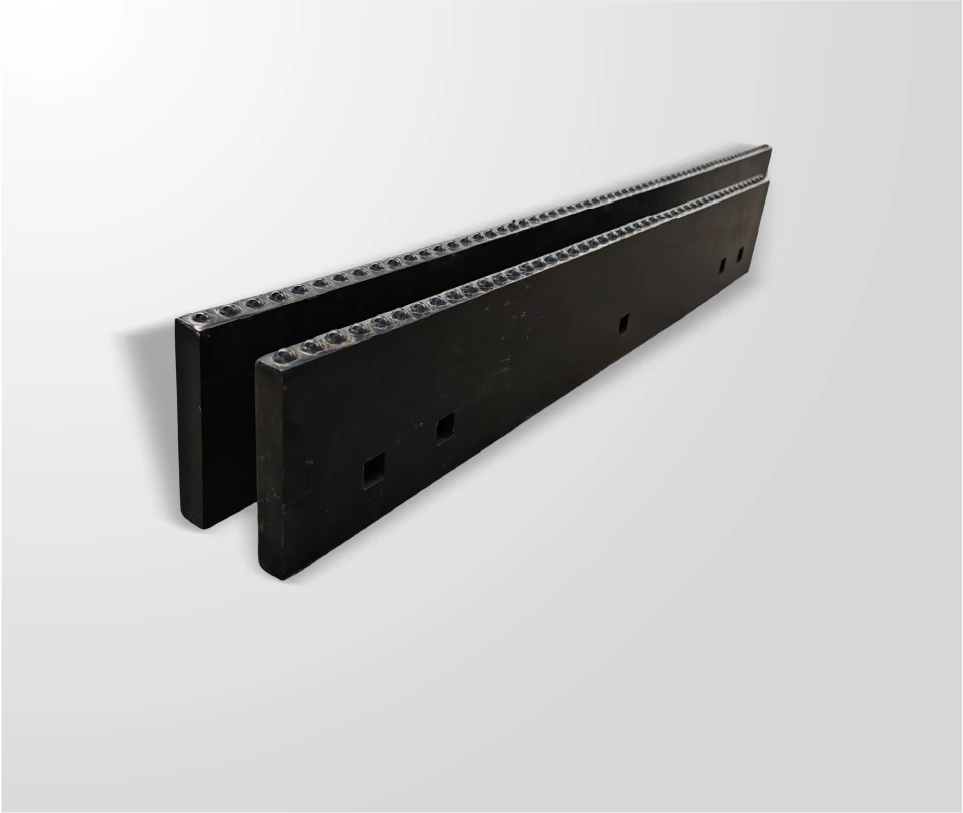
Section at the bolt line is the safety-relevant figure. It is the material that holds the fastener and resists cracking outwards from the hole, and once it is consumed the edge is close to failure rather than close to replacement. Section at the tip and the tip radius determine whether the edge is still doing its job.
Recording the measurements against the machine, the route and the hours worked turns a maintenance action into data. Over a season, that record shows which routes consume edges fastest, whether the grade selected suits the duty, and whether the machine’s setup is putting wear where it should not be. It also produces the one thing a supplier cannot argue with when a performance question arises: a measured history from the fleet’s own machines.

Wear Limits by Machine Class and Duty
Wear limits are not universal, because the consequence of a worn edge scales with the load the machine applies. The same remaining section that is adequate on a light utility grader is unacceptable on a heavy machine working abrasive road material, where the bending load at the bolt line is substantially higher.
| Machine class and duty | What drives the trigger | Practical rule |
|---|---|---|
| Light utility grading, soft surfaces | Cutting quality | Replace when the tip stops penetrating |
| Mid-size road grader, mixed gravel | Cutting quality plus hole-line integrity | Replace at a defined tip radius and inspect the hole line at the same time |
| Heavy grading, abrasive aggregate | Hole-line section, safety-relevant | Replace before the tip approaches the fasteners, regardless of remaining length |
| Winter and ice-bonded work | Impact damage as well as wear | Inspect for chipping and cracking, not only measured section |
Two practical notes belong with the table. The first is that the trigger should be written down as a number for each machine group, so that two workshops make the same decision. The second is that a trigger is a maximum, not a target: where the measurement shows an edge is close, and the machine is going into a programme that will consume it, changing early is normally cheaper than changing in the field.
Published references behind these decisions come from the standards programmes of the AASHTO, ASTM and SAE, with abrasion data for wear-steel grades published by producers such as SSAB and road programme guidance from FHWA. Where a fleet buys to an agency specification, those are the sources it will normally cite.
What Accelerates Wear on Grading Work
Wear is driven by the material, and the spread between materials is large enough that a route-level record is more useful than any general figure. Beyond material, four factors accelerate consumption consistently, and all four are within the fleet’s control.
Down-pressure is the first. An operator compensating for a dull edge by loading the blade harder converts cutting quality into load, and load into both edge wear and moldboard stress. Travel speed is the second: working an abrasive surface faster increases the rate of material removal per hour without increasing the work done.
Machine setup is the third, and it is the one most often overlooked. Angle of attack, moldboard pitch and blade height change where the wear falls and how much of the edge is doing the cutting. A single mis-set machine in a fleet can consume edges noticeably faster than its identical twin, and the difference will be attributed to the edge until someone measures both.
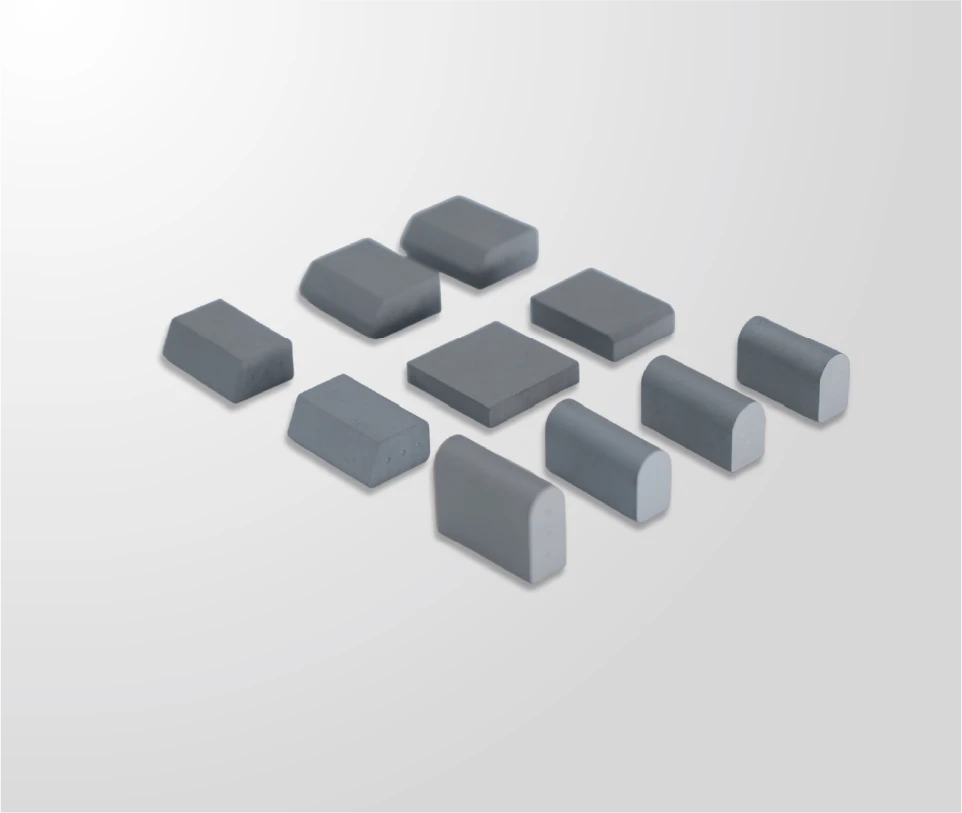
The fourth is end bit condition. Worn end bits let the corners of the edge dig and bend, which concentrates wear and load at the last portion of the blade. End bits are inexpensive relative to the consequence, and they belong in the same inspection as the edge.
Rotating Media Instead of Running to Failure
Where an edge can be rotated, the interval between replacements can be extended without any change in material. Rotating moves the unworn portions into the working position and defers the replacement while keeping the machine cutting.
The practice only works if it is systematic. The two rotations available are end-for-end reversal and, on some patterns, flipping the edge so the opposite bevel becomes the working face. Both change the profile against the surface, so both should be recorded: an edge that was reversed, when, and what the measurements were before and after. Without the record, the fleet loses the ability to attribute a change in wear rate to anything.
Rotation also has a limit. It buys time on an edge with even wear and an intact hole line; it does not rescue an edge whose hole-line section is approaching the limit, and it should never be used to defer replacement of an edge that is showing cracking at the holes. Setting a rotation policy and a replacement trigger together is what keeps the practice safe as well as economic.
Change-Out Procedure and Downtime
Change-out is a small job with a large indirect cost, and standardising the procedure is what reduces both the time and the variability. The sequence that works is consistent: measure and record the outgoing edge, inspect the moldboard’s seating face and end bits, clean the seating area, fit a new edge with new fasteners, torque to specification, and re-check torque after the first shift.
Two steps in that sequence are commonly skipped. Inspecting the seating face before fitting means a dished or stepped lip is discovered before the new edge is installed rather than after it fails. Re-checking torque after the first shift catches the small amount of seating that occurs under load, which is where many loosened edges originate.
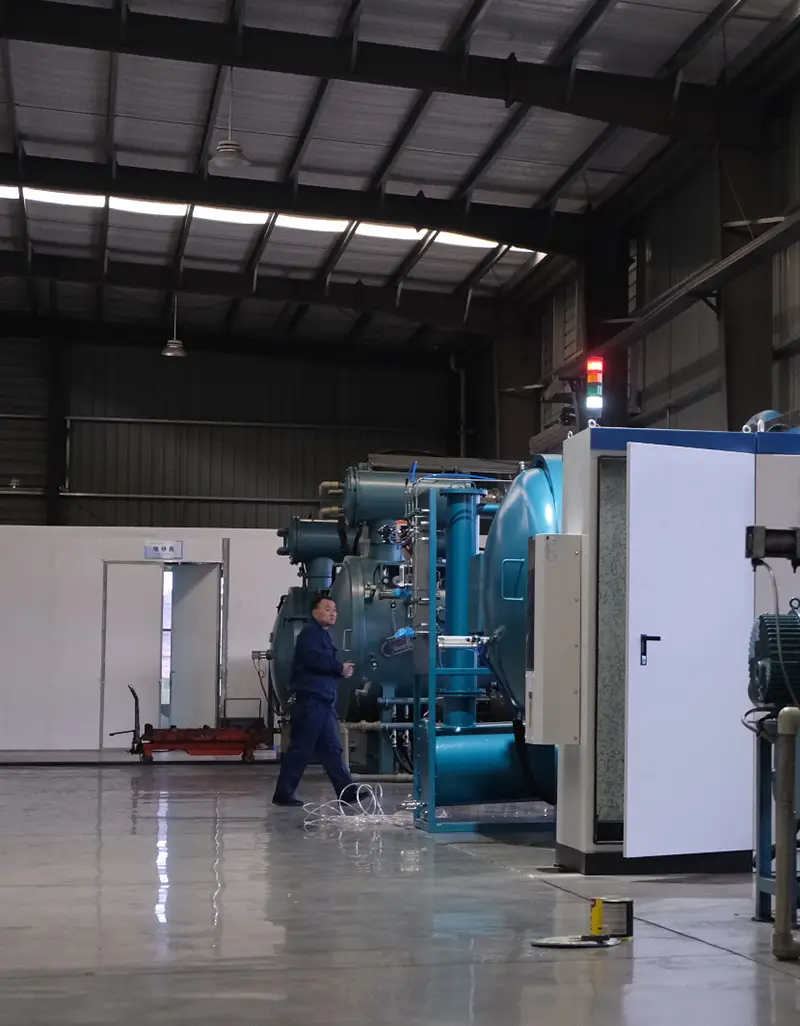
Downtime is reduced by preparation rather than by speed: edges and fasteners staged in advance, the correct tooling available, and the machine positioned so the blade can be worked on safely. Where a fleet runs several machine groups, holding a spare edge per group converts an emergency order into a scheduled change. The measurement and inspection discipline that makes this repeatable is the same as that applied in production, described in the company’s quality control process, where every batch is inspected and archived.
Building a Replacement Trigger Into the Programme
A replacement trigger becomes real when it appears in the maintenance programme rather than in a document. Four elements make it operational: a defined measurement for each machine group, a stated limit for each group and duty, a scheduled inspection point — pre-season, mid-season and post-season are the natural three — and a nominated person who owns the record.
The records themselves should stay simple. Machine identifier, date, hours worked, edge identifier, the three measurements, the route or surface type, and the action taken. That is enough to compare edges, compare machines and compare routes, and it is the kind of record that survives staff changes because it does not depend on judgement to interpret.
Where a fleet wants to go further, the natural next step is to use the record to revise the specification itself: the grade, the section and the profile on the next order. That is where measurement pays twice, and it is the subject of the selection material set out under wear parts beyond plows.
Measuring edge wear converts a judgement call into a scheduled action. Measure at the tip and the hole line, write the trigger down as a number for each machine group, record wear by route, and treat rotation as a policy with limits rather than an improvised decision. The costs this avoids are not only edge costs: running a worn edge transfers load into the moldboard, the fasteners and the end bits, and those are the parts a fleet cannot change in the yard in an afternoon.
Send SENTHAI your current edge measurements, machine groups and route types and the technical team will recommend a replacement trigger and a grade and section to match the duty.
Frequently Asked Questions
At what point should a grader cutting edge be replaced?
Set the trigger as a measured condition rather than a date: replace when the tip no longer penetrates, and always before the remaining section at the bolt line approaches the point where the edge can crack from the holes. Write that number down for each machine group and duty so two workshops reach the same decision, and treat it as a maximum rather than a target.
Can I reverse a grader blade to get more life out of it?
Where the pattern allows end-for-end reversal, yes, and it is worth doing systematically. Reversal moves unworn portions into the working position, which defers the replacement while keeping the cut quality. Record when each reversal happened and the measurements before and after, and never use reversal to defer an edge that is cracking at the bolt holes.
What causes a grader edge to wear unevenly?
Uneven wear usually comes from machine setup or route conditions rather than from the edge. Angle of attack, moldboard pitch and blade height change where the wear falls, and a persistent crossfall loads one end of the blade. Worn end bits concentrate load at the corners. Record wear position along with the route so the cause can be identified rather than replaced.
How often should grader edges be inspected during a season?
Three scheduled points cover most programmes: before the season, at a mid-season check, and after the last grading work. Add an inspection whenever the operator reports lost cutting quality, and measure at the tip and the bolt line rather than in the centre only. The centre of the edge is the last portion to wear, so measuring only there delays the replacement decision.
{
“@context”: “https://schema.org”,
“@type”: “FAQPage”,
“mainEntity”: [
{
“@type”: “Question”,
“name”: “At what point should a grader cutting edge be replaced?”,
“acceptedAnswer”: {
“@type”: “Answer”,
“text”: “Set the trigger as a measured condition rather than a date: replace when the tip no longer penetrates, and always before the remaining section at the bolt line approaches the point where the edge can crack from the holes. Write that number down for each machine group and duty so two workshops reach the same decision, and treat it as a maximum rather than a target.”
}
},
{
“@type”: “Question”,
“name”: “Can I reverse a grader blade to get more life out of it?”,
“acceptedAnswer”: {
“@type”: “Answer”,
“text”: “Where the pattern allows end-for-end reversal, yes, and it is worth doing systematically. Reversal moves unworn portions into the working position, which defers the replacement while keeping the cut quality. Record when each reversal happened and the measurements before and after, and never use reversal to defer an edge that is cracking at the bolt holes.”
}
},
{
“@type”: “Question”,
“name”: “What causes a grader edge to wear unevenly?”,
“acceptedAnswer”: {
“@type”: “Answer”,
“text”: “Uneven wear usually comes from machine setup or route conditions rather than from the edge. Angle of attack, moldboard pitch and blade height change where the wear falls, and a persistent crossfall loads one end of the blade. Worn end bits concentrate load at the corners. Record wear position along with the route so the cause can be identified rather than replaced.”
}
},
{
“@type”: “Question”,
“name”: “How often should grader edges be inspected during a season?”,
“acceptedAnswer”: {
“@type”: “Answer”,
“text”: “Three scheduled points cover most programmes: before the season, at a mid-season check, and after the last grading work. Add an inspection whenever the operator reports lost cutting quality, and measure at the tip and the bolt line rather than in the centre only. The centre of the edge is the last portion to wear, so measuring only there delays the replacement decision.”
}
}
]
}
Related articles
 Grader Snow Wings: Mounting, Edge Load and Blade ChoiceGrader blades and road grading cutting edges
 Scarifier Teeth and Shanks: Specifying for Hardpack and GravelGrader blades and road grading cutting edges
 Serrated Versus Straight Grader Edges: When Serration PaysGrader blades and road grading cutting edges
 Grader Blade Bolt Patterns and Hole Spacing: The Layout ChecklistGrader blades and road grading cutting edges