Installing and Maintaining Packed Ice Carbide Kits
Installing a packed ice carbide kit is a section swap, not a plow conversion — but doing it correctly matters for both performance and wear. This guide covers what comes in the kit, mounting,…
Installing a packed ice carbide kit is a section swap, not a plow conversion — but doing it correctly matters for both performance and wear. This guide covers what comes in the kit, mounting, first-season inspection, wear life, and a seasonal maintenance calendar. The SENTHAI packed ice carbide kit page has the specifications you need before ordering.
How to Install Ice Blades
Confirm the section size and AASHTO bolt pattern for your plow, mount with existing clamping bars and Grade 8 hardware, and torque to spec. Verify the edge sits flat against the moldboard before the first storm.
Bolt Patterns and Mounting
Kits use standard AASHTO bolt patterns, so they mount on major plow brands without modification. Measure hole spacing center-to-center before ordering, and never field-drill a section to make it fit.
Maintenance Tips
- Inspect after major storms: wear, inserts, and bond lines.
- Clean salt residue from sections and hardware.
- Check mounting bolts for torque and wear.
- Log condition per truck so trends are visible.
Wear and Replacement
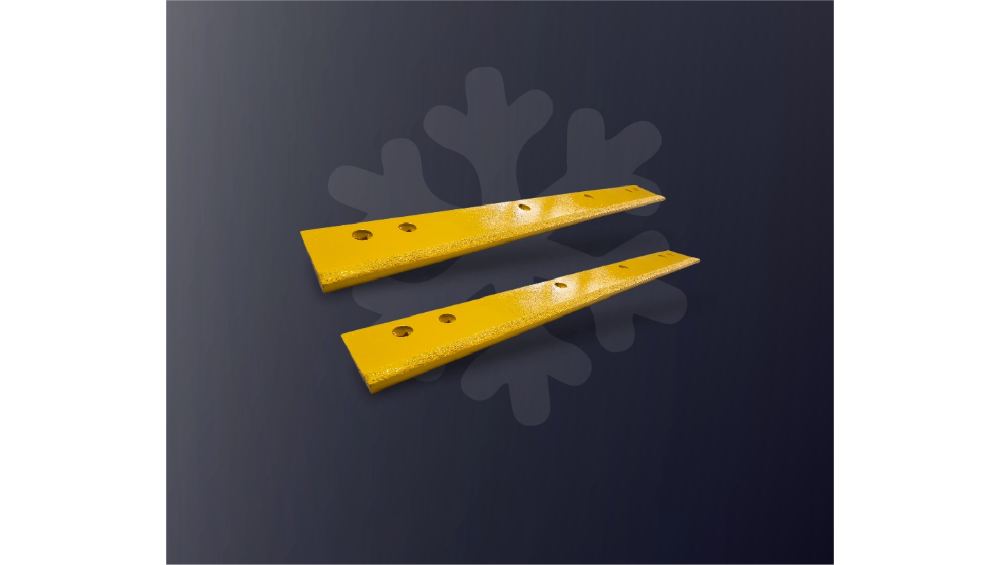
Kits are designed to run until the carbide reaches its wear limit, with no need for frequent minor repairs. Replace the section at the wear limit before the steel backing contacts the road.
Common Mistakes
The most common mistakes are wrong bolt-pattern orders, field drilling, and running sections past the wear limit. All three are avoidable with measurement, fitment confirmation, and scheduled inspection.
What Comes in the Kit
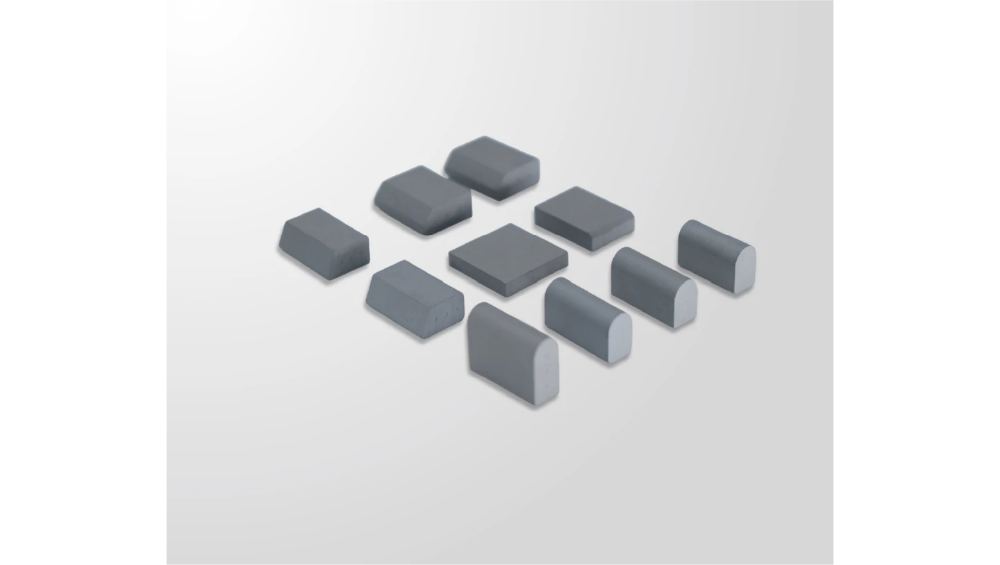
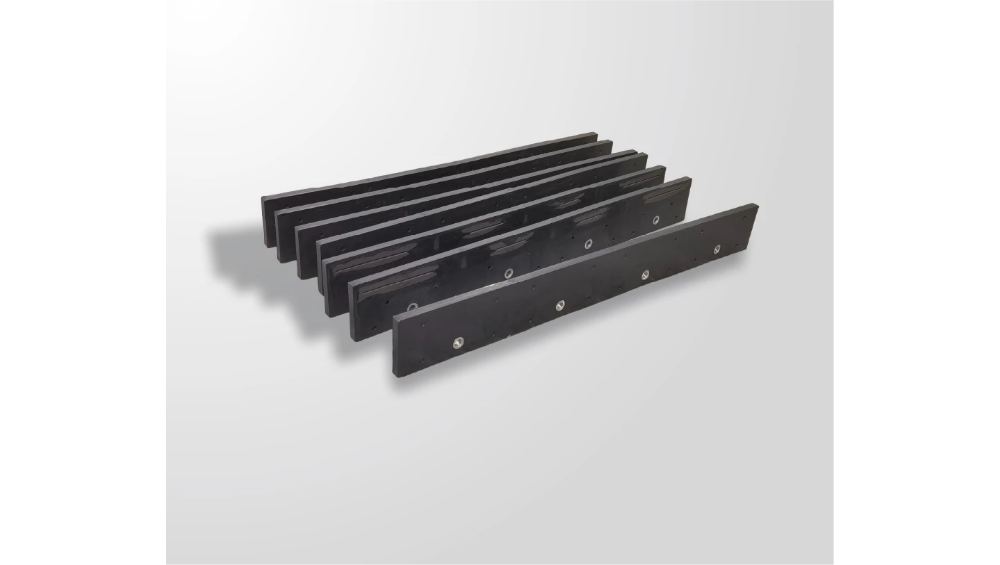
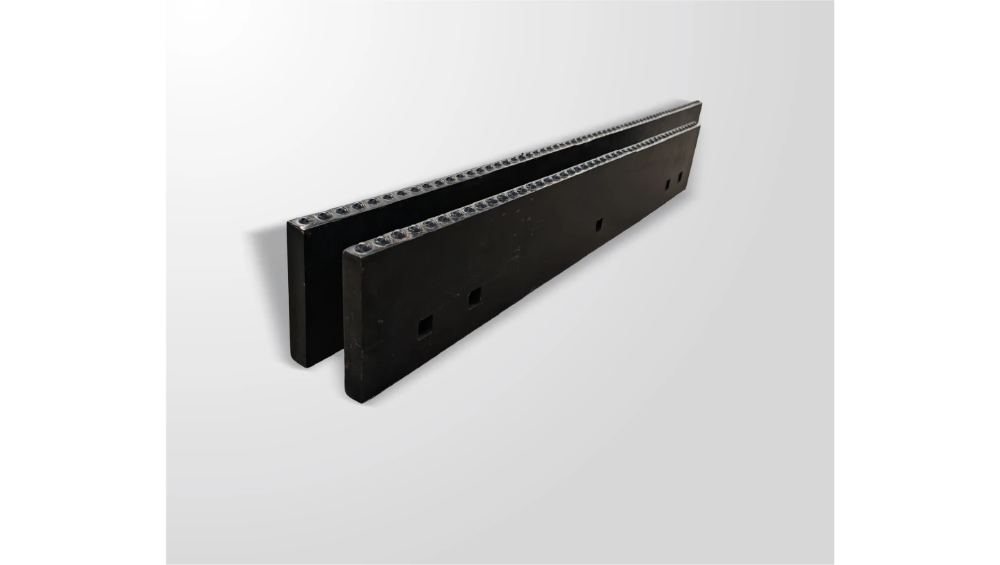
Each kit provides the carbide sections matched to your plow size, engineered with dome-head geometry and isolated inserts. Confirm the section count and length (3-foot or 4-foot) with the supplier before ordering.
First-Season Inspection
Inspect the kit after the first major ice event: check for insert movement, bond damage, and even wear across sections. First-season inspection catches any fitment or pressure issue before it becomes a season-long problem.
Wear Life of 4-Foot Sections
The 4-foot heavy-duty sections are built as solid, high-durability units with premium-grade tungsten carbide and proprietary brazing. Designed for extreme service life, they eliminate frequent minor repairs and deliver a lower cost per mile.
Seasonal Maintenance Calendar
| When | Action |
|---|---|
| Pre-season | Install, confirm torque, inspect all sections |
| After major storms | Quick wear and bond check, clean salt |
| Weekly | Full inspection, log per truck |
| Post-season | Remove, clean, dry, inspect, store |
Avoiding Common Installation Mistakes
Measure before ordering, confirm fit in writing, and use correct hardware. A correctly installed kit performs as engineered; a rushed installation causes uneven wear and early replacement.
Frequently Asked Questions
How long does installation take?
With the correct bolt pattern, installation is a standard section changeout — typically the same time as any cutting edge replacement.
Do packed ice kits need special hardware?
No — they use your existing clamping bars and Grade 8 mounting hardware.
When should I replace a kit section?
When the carbide reaches its wear limit, before the steel backing contacts the road. The kit is designed to run without frequent minor repairs.
How do I store kits between seasons?
Clean, dry, inspect, and store away from chemical exposure, like any cutting edge.
Install it right, run it all season. Get fitment confirmation from the SENTHAI packed ice kit specifications and contact SENTHAI for installation support.