




Packed Ice Kit Installation: Fitting the Kit to the Blade
Packed ice kit installation: the seating, sequence and torque checks that decide whether the kit works, plus the post-fit inspection to record.

A packed ice kit is fitted in the same way as any cutting edge and fails at the same points when it is not. The blade has to sit flat before anything is tightened, the fasteners have to be brought up in sequence, and the torque value has to match the assembly that is actually being fitted rather than the edge it replaced. Where a kit changes the assembly mass, those three steps matter more than they did on the previous blade.
What Packed Ice Kit Installation Looks Like in the Field
Installation is seating, sequence and torque.
The kit is positioned so that it contacts the mounting face along its full length, the fasteners are brought up progressively rather than from one end, and the final torque value matches the kit and hardware combination being fitted.
The first of those steps is the one that most often goes wrong. A kit that changes the mass and section of the assembly needs to be positioned rather than pulled into place, and an edge that requires force to bring its holes into line is not seated evenly. That is a measurable condition: the blade either contacts the mounting face along its length or it does not, and checking before tightening takes seconds.
The general procedure for fitting carbide edges is set out in the step by step installation guide, and the arrangement and coverage the kit was specified for are described in the packed ice kit specification guide. This article covers the checks that make the fitting hold through a season on ice routes.
Fitting Failures and What They Signal During Packed Ice Kit Installation
Post-fitting failures point to specific steps.
Fasteners that lose torque in the first weeks indicate insufficient preload, which comes from an incorrect value, a sequence that distorted the blade or hardware reused from a different specification. Gaps at the blade ends indicate uneven sequence. Movement in the assembly indicates a mounting face that is not flat.
On ice routes those failures appear faster than they would elsewhere, because operators apply compensating down-pressure when contact is poor and the mounting interface absorbs it. A kit that is correctly installed and working as intended reduces the need for that compensation, but one that is fitted badly produces the opposite: poor contact, more pressure applied, and accelerated loosening. The installation therefore determines whether the kit’s advantage exists at all.
A fourth failure is specific to kits that change the assembly arrangement: uneven wear appearing across the covered width within a short period. That usually indicates the kit is not seated flat, so load is concentrated at a few positions, or that the mounting face is worn so that the kit sits at an angle. Comparing the wear pattern against the fitted positions identifies which of the two it is.
A fifth pattern appears where a kit is fitted to a blade whose mounting face has been reused through several edge changes. The face flattens where it has been clamped repeatedly and distorts around the holes, so even a correctly made kit sits fractionally unevenly. The symptom is consistent loosening at particular positions rather than across the assembly, and the remedy is to address the mounting face rather than to replace the fasteners again.
Post-Installation Checks and What to Record on Packed Ice Kit Installation
Four checks belong immediately after fitting. Confirm the kit contacts the mounting face along its full length, at the ends and the centre. Confirm the hardware set matches the specification for the kit, including bolt length and washer type. Record the torque values applied at each position. And photograph the fitted assembly from the standard inspection position, so later wear can be compared with the starting condition.
A re-check belongs in the schedule after the first period of service, once the assembly has been through thermal cycling and load. Recording the values at that point shows whether preload is stable or declining, which distinguishes a fitting issue from a hardware or mounting-face problem. Where the re-check follows the same positions as the initial record, the comparison is immediate.
The record should also capture the conditions the kit will work: route class, surface type and whether the group sees refrozen surfaces repeatedly. Without that context, the wear readings taken later describe the kit but not the work it did, and the season-end review has no basis for comparison against other groups.
Conditions That Change What Packed Ice Kit Installation Must Achieve
Fitting conditions affect the outcome. Working outdoors in low temperatures changes how fasteners behave and how easily a heavy assembly is positioned, and it increases the chance that the kit is brought into place with inadequate support. Where fitting is done in the field rather than a workshop, the sequence is more likely to be compressed, which is exactly when gaps and uneven preload appear.
The intended route matters as well. A kit fitted for routes where refrozen surfaces recur will carry down-pressure loads throughout its service, so correct preload and a flat seating face matter more than on a route that runs loose snow on pavement. Equipment condition is the third variable: worn mounting holes, a distorted moldboard face or fasteners reused beyond their service life all limit what fitting can achieve, however carefully the sequence is followed.
Carrier capability belongs in the same assessment. A kit adds mass at the leading edge, and where the plow cannot supply the down-pressure the specification assumes, the kit will not perform as intended no matter how well it is fitted. That is a specification question rather than an installation one, and it should be resolved before the fitting rather than discovered afterwards.
Re-Torquing, Repair or Replacement After Fitting
Re-torquing should be scheduled rather than reactive. The practical pattern is a check after the first service period and again at each rotation check, with the values recorded so that a declining trend is visible early. A single loose fastener on an otherwise seated kit can usually be brought back to specification and monitored.
A section of fasteners that has lost preload indicates the kit is not seated or the mounting face is worn, and tightening again repeats the cycle. Where the kit has moved or the bond line shows separation, the correct response is to treat the assembly as unserviceable rather than to continue running it, because the load path becomes unpredictable and the blade body is at risk. Where the wear pattern is uneven across the fitted width, the fitting and the mounting face should be checked before any replacement part is ordered.
Replacement decisions should follow the recorded evidence: measured wear at fixed points, hardware condition and the reason the kit was removed. Retiring a kit for even wear is a normal interval; retiring one after damage or loosening is a fitting or specification finding, and recording the difference is what prevents the same outcome in the following season.
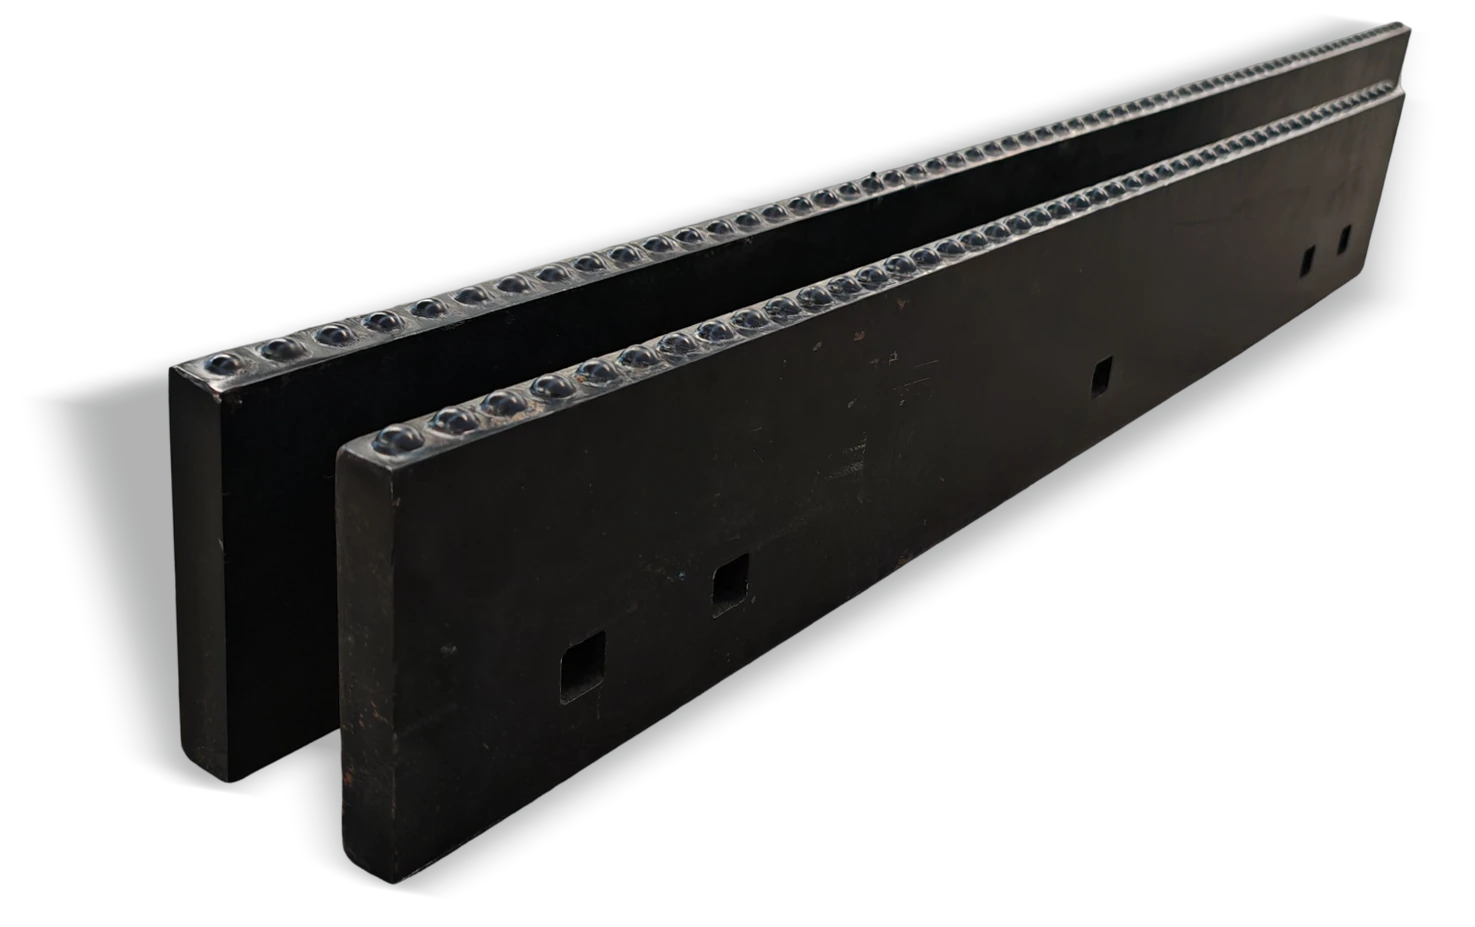
The design intent behind the assembly is described in the material on what a packed ice carbide kit is and how it works, which explains why the fitting sequence matters more here than on a standard edge.
Tools, Hardware and Safe Handling for Packed Ice Kit Installation
The tool list is short and should be defined: a torque wrench in the correct range for the fasteners, sockets that fit without slipping, a light for checking seating along the mounting face, and lifting equipment or a second pair of hands for positioning the kit. A torque wrench that is out of calibration is indistinguishable from a specification that is wrong, so periodic checking is part of the procedure rather than an optional extra.
Handling is the main hazard. Kits and edge assemblies are heavy, often sharp and difficult to position accurately against a moldboard, and most injuries during fitting come from movement rather than from tools. Assessment principles for load handling are published by the UK Health and Safety Executive, and general workshop requirements for hand and power tool use are set out in the OSHA occupational safety and health standards.
Hardware discipline completes the picture. Do not reuse fasteners from the previous edge specification, and do not substitute a longer bolt from stock without confirming the torque value that suits it. SENTHAI validates fitment against AASHTO and DIN bolt patterns before release and works to plus or minus 0.02 mm dimensional tolerances on carbide components, with AASHTO published standards as the agency reference and DIN covering European and export conventions; where an OEM mounting interface is involved, SAE standards for mobile machinery describe the interface the equipment was designed around.
Season-End Checks on a Fitted Kit
The season-end check closes the record. Measure wear at the fixed points, note any positions where torque was lost during the season, record the condition of the mounting face and confirm whether the kit is serviceable for another season or should be retired. Those four items tell the fleet whether the installation is holding and whether the equipment needs attention before the next season.
Store the kit and its hardware together so that the assembly can be refitted as it was, and note in the record whether fasteners were discarded and need replacing with the specified set. The value of the record is cumulative: after two seasons, it shows whether the group’s interval is stable and whether the installation procedure is producing consistent results across trucks.
Packed ice kit installation is three steps in a fixed order: seat the kit flat, bring the fasteners up in sequence, torque to the value specified for the kit and its hardware. Everything else supports those three.
Confirm the hardware when the assembly changes, check seating before and after tightening, and re-torque after the first service period. On ice routes, where compensating down-pressure loads the mounting interface, that procedure is what decides whether the kit delivers the contact it was specified for.
Send SENTHAI your kit specification, blade pattern and hardware set, and the technical team will confirm the torque value, sequence and seating checks for the assembly.
Frequently Asked Questions
Does a packed ice kit need different hardware from a standard edge?
Often yes, because the kit changes the assembly mass and section, and the hardware set that suits it may include longer fasteners or different washers. Under the same torque value, a longer bolt stretches differently and holds preload differently. Confirm bolt length, washer type and torque specification with the supplier when the kit is ordered rather than at fitting.
What tightening sequence should be used on a kit?
Bring the fasteners up progressively in a pattern that alternates along the blade rather than working from one end, with an initial pass at reduced torque followed by a final pass to the specified value. This keeps the kit seating evenly and avoids the situation where the last fasteners have to pull the assembly against resistance built up by the first ones tightened.
How soon should torque be re-checked after fitting a kit?
Re-check after the first period of service, once the assembly has been through thermal cycling and load, and again at each rotation check. Recording the values shows whether preload is stable or declining. This matters more on ice routes, where operators add down-pressure when contact is poor and the mounting interface absorbs that load.
What should be done if the kit will not seat flat?
Stop and identify the cause before tightening. Check the mounting face for wear, distortion or contamination, verify the kit dimensions against the drawing, and confirm the pattern matches the equipment. A kit that needs force to seat is either outside tolerance or sitting on an uneven face, and tightening it in place produces a gap and lost preload rather than a correct assembly.
Related articles
 Packed Ice Kit Maintenance: Inspecting What MattersPacked ice carbide kits
 Packed Ice Kit Performance on Ice Compared With Standard EdgesPacked ice carbide kitsPacked Ice Kit Sizing for Different Plow WidthsPacked ice carbide kitsPacked Ice Carbide Kit Cost: When the Investment Is Worth ItPacked ice carbide kits