




How to Install a Snow Plow Cutting Edge Without Guessing Torque or Bolt Patterns
Most cutting edge failures in the first month are not material failures. They are installation failures: wrong bolts, guessed torque, holes drilled in the field, and edges mounted to a moldboard that was already…
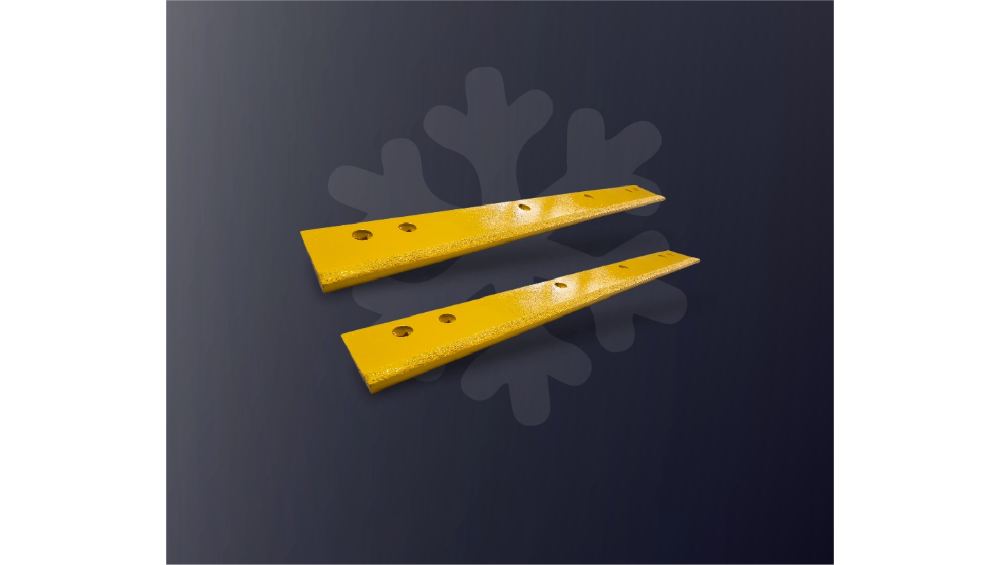
Most cutting edge failures in the first month are not material failures. They are installation failures: wrong bolts, guessed torque, holes drilled in the field, and edges mounted to a moldboard that was already damaged. A snow plow cutting edge installation is a fifteen-minute job done right and a season of problems done wrong. The process is simple: verify fit, match hardware, secure the plow safely, remove the old edge, inspect the mounting surface, and torque the new edge to the manufacturer’s specification — not to feel.
Before You Start: Verify Fit First
The old edge’s hole pattern is your baseline. Measure the distance between holes, the hole diameter, the edge length, and the thickness, and compare them to the replacement before you lift anything. An edge that is close but not exact is not close enough: a mismatched hole pattern concentrates stress on one or two bolts, and those are the bolts that shear mid-storm.
If you are replacing an edge on a fleet with multiple plow models, tag each plow with its edge specification. Cross-fleet fitment fails when a crew grabs the wrong edge from the rack and forces it onto a different moldboard.
Secure the Plow Before You Work
Cutting edge work happens under a heavy blade, so the machine must be parked on level ground, the plow fully lowered or supported on stands, and the hydraulic system isolated according to the equipment manufacturer’s procedure. Lock out or block the controls so no one can raise or lower the blade while a technician is underneath. This is standard practice for any under-vehicle work, and it is not optional.
Remove the Old Edge and Inspect What It Was Hiding
Remove the bolts and drop the old edge, then look at the moldboard and base angle before installing the new one. A straight edge laid across the mounting surface will show you whether the moldboard is bent. Look for:
- Elongated holes or cracks in the moldboard
- A base angle ground thin in the center
- Rust or grit packed between the old edge and the moldboard
- Stretched or corroded bolts that suggest previous overtightening or wrong hardware
Installing a new edge onto a damaged mounting surface transfers the damage to the new part. Fix the surface first, or the new edge will wear unevenly and the bolts will fail the same way.
Match the Hardware Before You Torque
Bolt size, grade, and length must match the edge and moldboard. A longer bolt may bottom out before the edge is clamped. A lower-grade bolt may stretch under load. The bolt holes in the edge should align with the moldboard without forcing; if a bolt does not drop through, the hole pattern is wrong, and drilling to make it fit is the shortcut that produces bolt shear later.
Torque the bolts in a crossing pattern, in two or three passes, to the value specified by the plow or edge manufacturer. If no torque value is published, ask for one — a specification exists for the hardware, and tightening without a spec leaves the clamp load unknown and the hardware vulnerable.
Common Installation Mistakes and Their Symptoms
Mistake: Drilling new holes in the edge or moldboard to fit.
Symptom later: Bolt shear, hole elongation, edge shifting, moldboard cracks.
Mistake: Overtightening bolts.
Symptom later: Stretched bolts, stripped threads, edge distortion that creates a gap in the middle.
Mistake: Installing an edge that is thicker than the original without checking clearance.
Symptom later: The edge drags on curbs, plow trip mechanisms bind, or the blade angle changes.
Mistake: Reusing corroded or mixed hardware.
Symptom later: Bolt failure mid-storm, edge loss on the road.
Mistake: Skipping the re-torque after the first hundred miles.
Symptom later: Loose bolts, edge rattle, accelerated wear at the mounting points.
When to Send It to the Manufacturer Instead
If the plow uses a custom edge, a non-standard hole pattern, or a mounting system you cannot identify, the right move is to send the model, a drawing, or the old edge to the manufacturer. SENTHAI supplies replacement snow plow cutting edges for OEM and fleet programs from its Rayong, Thailand facility and works from drawings, samples, or specifications — which is exactly how mounting compatibility gets resolved before a wrench touches the plow. A correctly specified edge installed once is cheaper than a mismatched edge installed three times.
The Post-Install Checklist That Prevents First-Storm Failures
Run through this list after every edge installation:
- All bolts drop into the holes without forcing — no field drilling
- Bolts torqued in a crossing pattern, in two or three passes, to spec
- No gap between the edge and the moldboard anywhere along the length
- Edge thickness does not interfere with the trip mechanism or curb clearance
- Hardware grade and length match the original specification
- Re-torque scheduled after the first hundred miles or first major storm
- Spare bolts and the torque spec stored with the plow records
- Edge model and install date logged for wear tracking
The checklist takes ten minutes and converts a fifteen-minute install into a durable one. Most first-storm failures trace back to a step on this list being skipped, not to the edge itself.
FAQ
What torque should I use for cutting edge bolts?
Use the value specified by the plow or edge manufacturer for the exact bolt grade and size. If no value is published, ask for one — torque by feel is how bolts stretch and holes elongate.
Can I reuse old cutting edge bolts?
No. Bolts that have carried plow loads are stretched or corroded, and reused hardware is a common cause of mid-storm bolt shear. Always install new, matched hardware.
How do I know if the hole pattern matches before I start?
Every bolt should drop into place without forcing. If one hole needs persuasion, stop — the pattern is wrong, and drilling to fit will concentrate stress on the misaligned hole.
Related
- How to Measure a Snow Plow Blade for Replacement — the measurements to collect before ordering
- How to Reduce Snow Plow Blade Wear — inspect hardware between seasons and read wear patterns
- Carbide Snow Plow Blade — replacement edges for fleet programs
- Contact SENTHAI — get a drawing-matched edge
Sources
- SENTHAI – How to Prevent Bolt Shear in High-Impact Snow Plowing Environments
- SENTHAI – Verifying Plow Blade Bolt Hole Patterns for Cross-Fleet Fitment
- SENTHAI – How to Measure a Snow Plow Blade for Replacement
- OSHA – Lockout/Tagout Fact Sheet
- NIOSH – Preventing Injuries from Working Under Vehicles
- FHWA – Road Weather Management
Related articles
 Best Snow Plow Blade Family for Your Fleet: Top 5 ScenariosKnowledge
 Top 10 Snow Plow Blade Types for Winter Fleets (Ranked by Duty Fit)KnowledgeTop 5 Best Carbide Blade Configurations for Highway PlowingKnowledge
 Best Snow Plow Blade Materials Ranked: Steel vs Carbide vs Cladding vs Rubber-CarbideKnowledge