




Carbide Edge Installation: Torque, Sequence and Seating
Carbide edge installation explained: torque values, tightening sequence, seating checks and the post-fit inspection that prevents loosening in service.
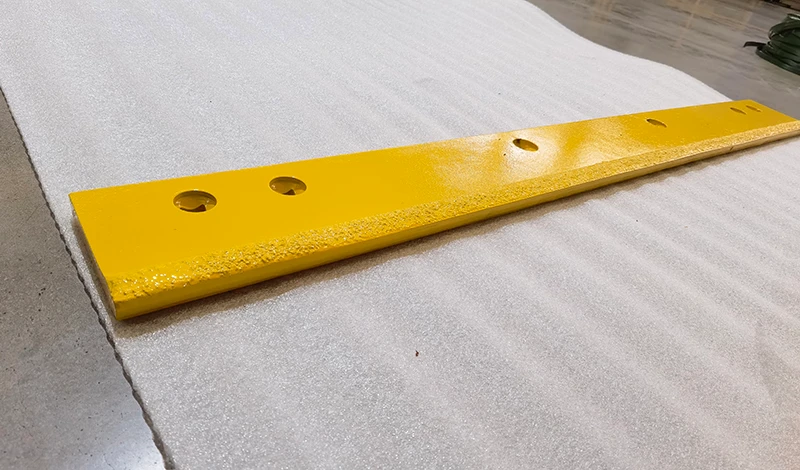
Most loosening problems on carbide edges are installed rather than manufactured. A blade that begins the season correctly seated and torqued to specification rarely works loose; one that is pulled into position by its fasteners, tightened from one end or torqued to a value borrowed from a different edge specification usually does. Installation is a short procedure with three variables, and each one is easier to control than to diagnose later.
What Carbide Edge Installation Looks Like in the Field
Installation is seating, sequence and torque in that order.
The edge has to sit flat on the mounting face before any fastener is tightened, the fasteners are brought up in a sequence that keeps the load even, and the final torque is applied to the value specified for that edge and hardware set.
Getting the order wrong is the most common cause of problems. Where fasteners are tightened from one end of the blade, the edge is pulled progressively along the mounting face, and the last holes have to be drawn into line against the resistance already built into the assembly. The result is uneven compression, a gap at one end, and preload that varies along the working width. A heavier carbide edge amplifies that effect because the section resists being pulled into position more than a lighter steel part.
The procedure itself is documented for the carbide insert assemblies in the step by step installation guide. This article covers the checks that make the procedure stick: what to verify before tightening, and what to record afterwards so that the next inspection has a baseline.
Before any of that, confirm what is being fitted. Check the delivered edge against the drawing and the supplier’s fitment confirmation, and confirm the hardware set matches the specification for that edge rather than the set used on the previous one. Installation failures are frequently traced to a component that was never correct for the machine, and that check takes less time than the diagnosis that follows.
Failure Modes After Fitting and What They Signal
Each post-installation failure points to a specific step.
Fasteners that loosen in the first weeks point to insufficient preload, which comes from an incorrect torque value, a sequence that left the edge distorted, or hardware reused from a different specification. Gaps at the ends of the blade point to uneven sequence.
Movement at the joint between carbide and blade body after installation is a different failure altogether, and it belongs to the manufacturing process rather than the fitting procedure. Where inserts move within a correctly installed edge, the question is how the bond was controlled in production, and the batch record should be reviewed rather than the torque wrench. SENTHAI brazes with automated high-temperature induction equipment and archives the inspection record for every batch, so a query can be traced to the production run.
A third pattern is edge damage appearing soon after installation at specific positions. That usually indicates the edge was not seated flat, or that the moldboard mounting face is worn or distorted, so the fasteners are clamping the blade against an uneven surface. Checking the mounting face before installing a new edge takes a few minutes and prevents a failure that will otherwise be attributed to the blade.
Two less common causes are worth knowing because they imitate installation faults. A blade fitted to the wrong side or position on a wing assembly can appear to loosen because it is loaded in a direction the design did not anticipate. And an edge installed correctly but with the shoes set too low changes the contact angle, which concentrates load on one end of the edge and produces a wear pattern that looks like uneven tightening.
Torque, Sequence and the Checks After Installation
Torque values belong to the combination of edge and hardware, not to the machine alone. Where a fleet changes edge type or adopts a thicker section, the torque specification should be confirmed rather than inherited, because a longer fastener under the same value stretches differently and holds preload differently. Ask the supplier for the torque value that suits the assembly being fitted, and record it with the installation.
Sequence should be specified as well as performed. The usual approach is to bring fasteners up progressively in a pattern that alternates along the blade rather than working from one end, with an initial pass at reduced torque followed by a final pass to the specified value. That keeps the edge seating evenly and avoids concentrating load at the first fasteners tightened.
Two checks belong immediately after installation. First, confirm the edge is seated against the mounting face along its full length, using a light or a feeler check at the ends and the centre. Second, mark the fasteners or record their positions so that later movement is visible without re-checking every bolt. The post-installation inspection is then a quick comparison rather than a full procedure, which is what makes it sustainable through a busy season.
Conditions That Change What Installation Has to Achieve
Installation conditions affect the outcome more than most procedures acknowledge. Working outdoors in low temperatures changes how fasteners behave and how easily a heavy edge is positioned, and it increases the risk that an assembly is brought together with inadequate support. Where installation is done in the field rather than in a workshop, the sequence is more likely to be compressed, which is exactly when gaps and uneven preload appear.
The intended route also matters. Where an edge will work routes with embedded debris, the mounting interface carries shock loads throughout the season, so correct preload matters more than on a route that runs smooth pavement. Where the blade will work packed ice, the compensating down-pressure operators apply is transmitted through the same fasteners, so the installation quality directly affects how long the edge stays seated.
Equipment condition is the third variable. Worn mounting holes, a distorted moldboard face or fasteners that have been reused beyond their service life all limit what installation can achieve, however carefully it is performed. Inspecting the mounting face before fitting an edge is part of the procedure rather than an optional extra, because it determines whether the new edge has a surface to seat against.
Re-Torquing, Repair or Replacement After Installation
A re-check belongs in the schedule, not in the reaction to a problem. The usual practice is to re-check torque after the first period of service, once the assembly has been through thermal cycling and load, and again at each rotation check. Recording the values lets the fleet see whether preload is stable or declining, which distinguishes a fitting issue from a hardware issue.
Where movement is found, the response should follow the evidence. A single loose fastener on an otherwise seated edge can usually be brought back to specification and monitored. A section of fasteners that has lost preload indicates the edge is not seated or the mounting face is worn, and tightening again will only repeat the cycle. Where inserts have moved within a correctly installed edge, the question moves to the manufacturing record rather than the workshop.
Replacement is the right decision where the edge no longer seats, where the mounting face requires repair, or where insert retention has failed at multiple positions. Continuing with an assembly in that condition transfers load into the machine without improving the road, and it makes the next installation more difficult because the working surfaces have deteriorated further.
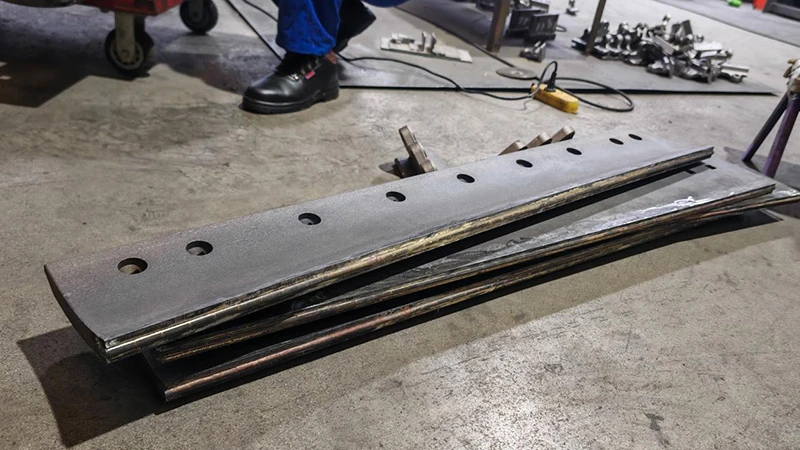
Tools, Hardware and Safe Handling During Installation
The tool list is short and should be defined: a torque wrench in the correct range, sockets that fit the fasteners without slipping, a light for checking seating, and lifting equipment or a second pair of hands for positioning the edge. Torque wrenches should be checked periodically, because an out-of-calibration wrench is indistinguishable from a specification that is wrong.
Handling is the main hazard. Carbide edges are heavy, often sharp, and difficult to position accurately against a moldboard, and most injuries during installation come from lifting and positioning rather than from tools. Assessment principles for load handling are published by the UK Health and Safety Executive, and general workshop requirements for hand and power tool use are set out in the OSHA occupational safety and health standards.
Hardware discipline completes the picture. Do not reuse fasteners from a different edge specification, and do not substitute a longer bolt from stock without confirming the torque value that suits it. Where a fleet fits several edge types, keeping hardware sets identified by specification prevents the mixture of bolt lengths and washer types that produces inconsistent preload. Dimensions and tolerances are held to plus or minus 0.02 mm on carbide components and validated against AASHTO published standards and DIN patterns, so a correctly supplied edge should assemble without force; where it does not, the installation is not the problem. Grade properties behind the assembly can be verified against methods published by ASTM.
Season-End Checks on an Installed Edge
The season-end check closes the installation record. Measure wear at the fixed points, note any fastener positions that lost torque during the season, and record the condition of the mounting face. Those three items tell the fleet whether the installation procedure is working and whether the equipment itself needs attention before the next season.
Store edges and hardware together so that the assembly can be reassembled as it was fitted. Where fasteners are discarded, note that in the record and replace them with the specified set rather than with whatever is available at the start of the next season. Installation quality depends on the parts being the ones the specification assumed.
Carbide edge installation is three steps that have to happen in order: seat the edge flat, bring the fasteners up in sequence, then torque to the value specified for that edge and hardware set. Everything else in the procedure supports those three.
Confirm the torque value when the edge specification changes, check seating before and after tightening, and re-check torque after the first period of service. Recorded and repeated, that procedure removes the most common cause of loosening, which is installation rather than manufacture.
Send SENTHAI the edge specification, pattern and hardware set you are fitting, and the technical team will confirm the torque value, sequence and seating checks for the assembly.
Frequently Asked Questions
Does a thicker carbide edge need a different torque value?
It often does, because the hardware set that suits a thicker section usually includes longer fasteners, and a longer bolt under the same torque value stretches differently and retains preload differently. Confirm the torque specification with the supplier for the specific edge and hardware combination rather than carrying a value across from a previous edge type, and record it with the installation.
What tightening sequence should be used on a plow cutting edge?
Bring the fasteners up progressively in a pattern that alternates along the blade rather than working from one end, with an initial pass at reduced torque followed by a final pass to the specified value. This keeps the edge seating evenly and avoids the situation where the last fasteners have to pull the blade against resistance built up by the first ones.
How soon should torque be re-checked after fitting?
Re-check after the first period of service, once the assembly has been through thermal cycling and load, and again at each rotation check. Recording the values over the season shows whether preload is stable or declining, which separates a one-off fitting issue from a hardware or mounting-face problem. A single check immediately after installation will not reveal either.
What should be done if an edge will not seat flat?
Stop and identify the cause before tightening. Check the mounting face for wear, distortion or contamination, verify the edge dimensions against the drawing, and confirm the pattern matches the equipment. An edge that needs force to seat is out of tolerance or the mounting face is not flat, and tightening it in place will produce a gap and lost preload rather than a correct assembly.
Related articles
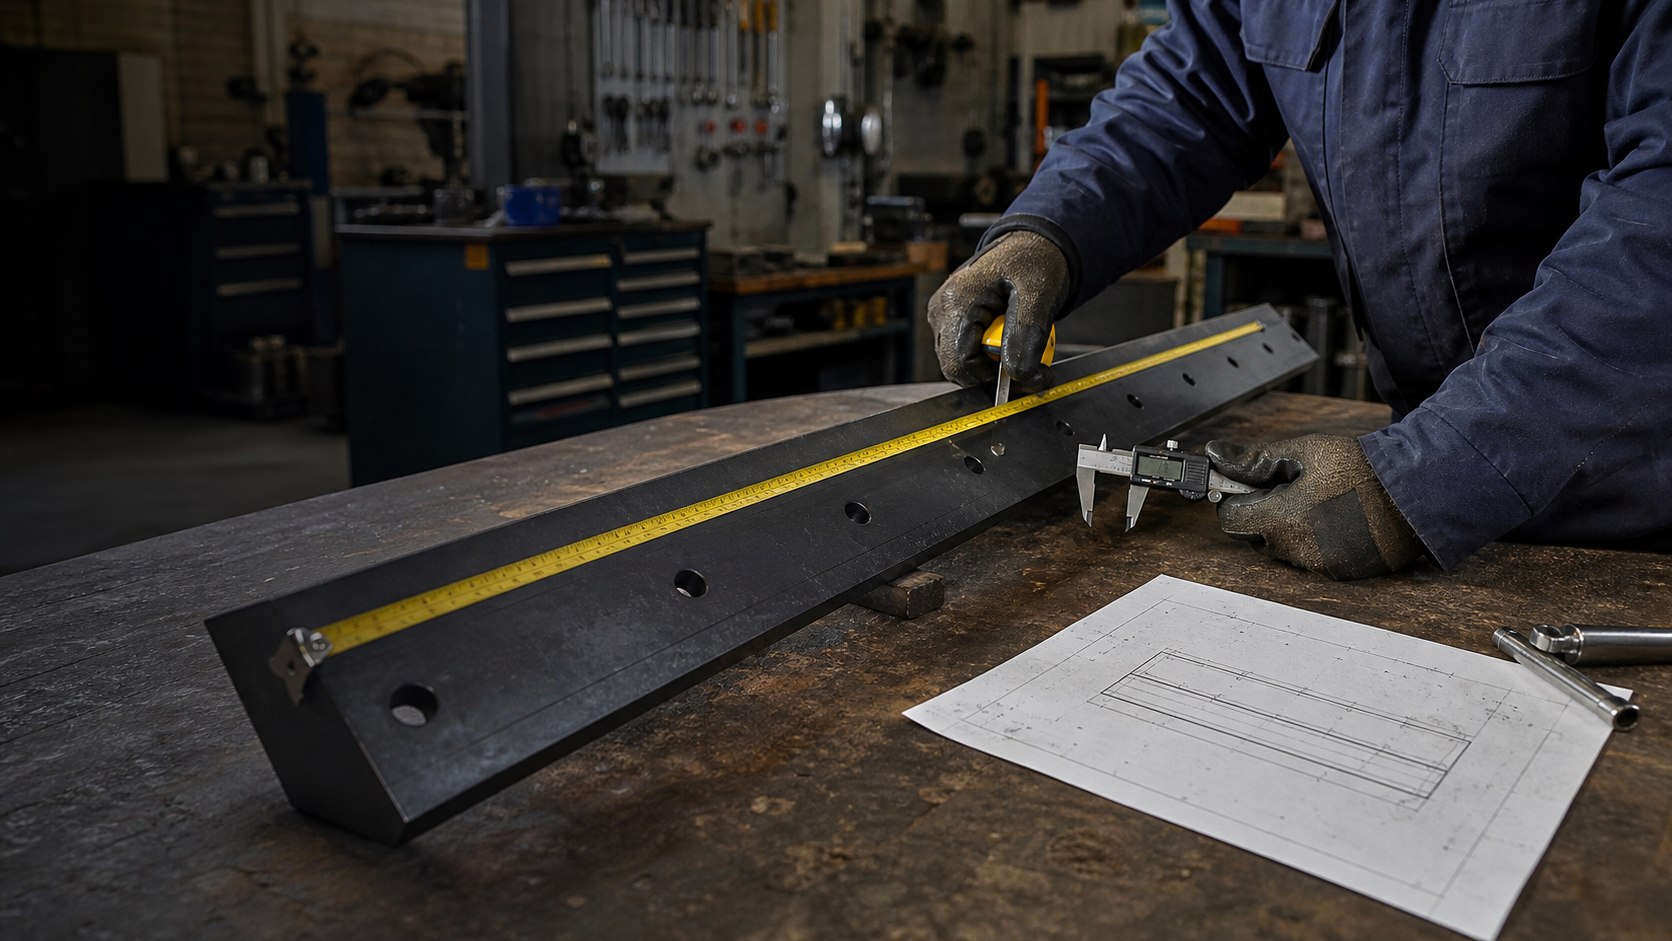 Carbide Blade Fitment: Matching Patterns Across Common Plow MakesCarbide snow plow blades
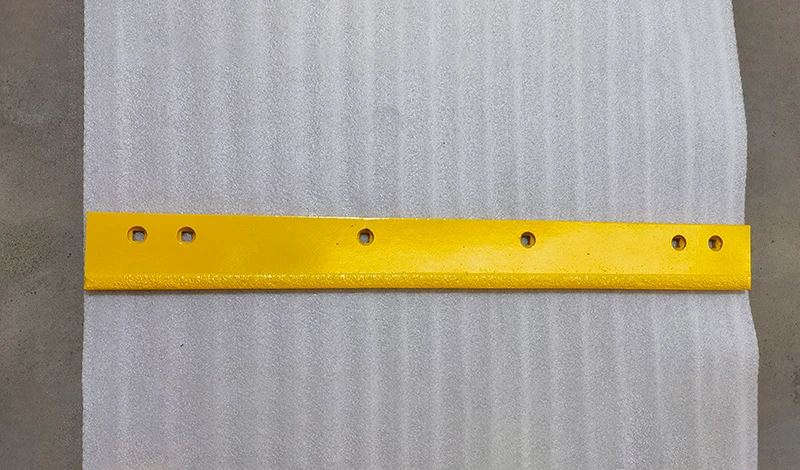 Heavy Duty Carbide Blade Profiles: How They Compare With Standard EdgesCarbide snow plow blades
 Plow Blade Edge Angle and Scraping PerformanceCarbide snow plow bladesCarbide vs Steel Plow Edges: Cost Per Mile ComparedCarbide snow plow blades