



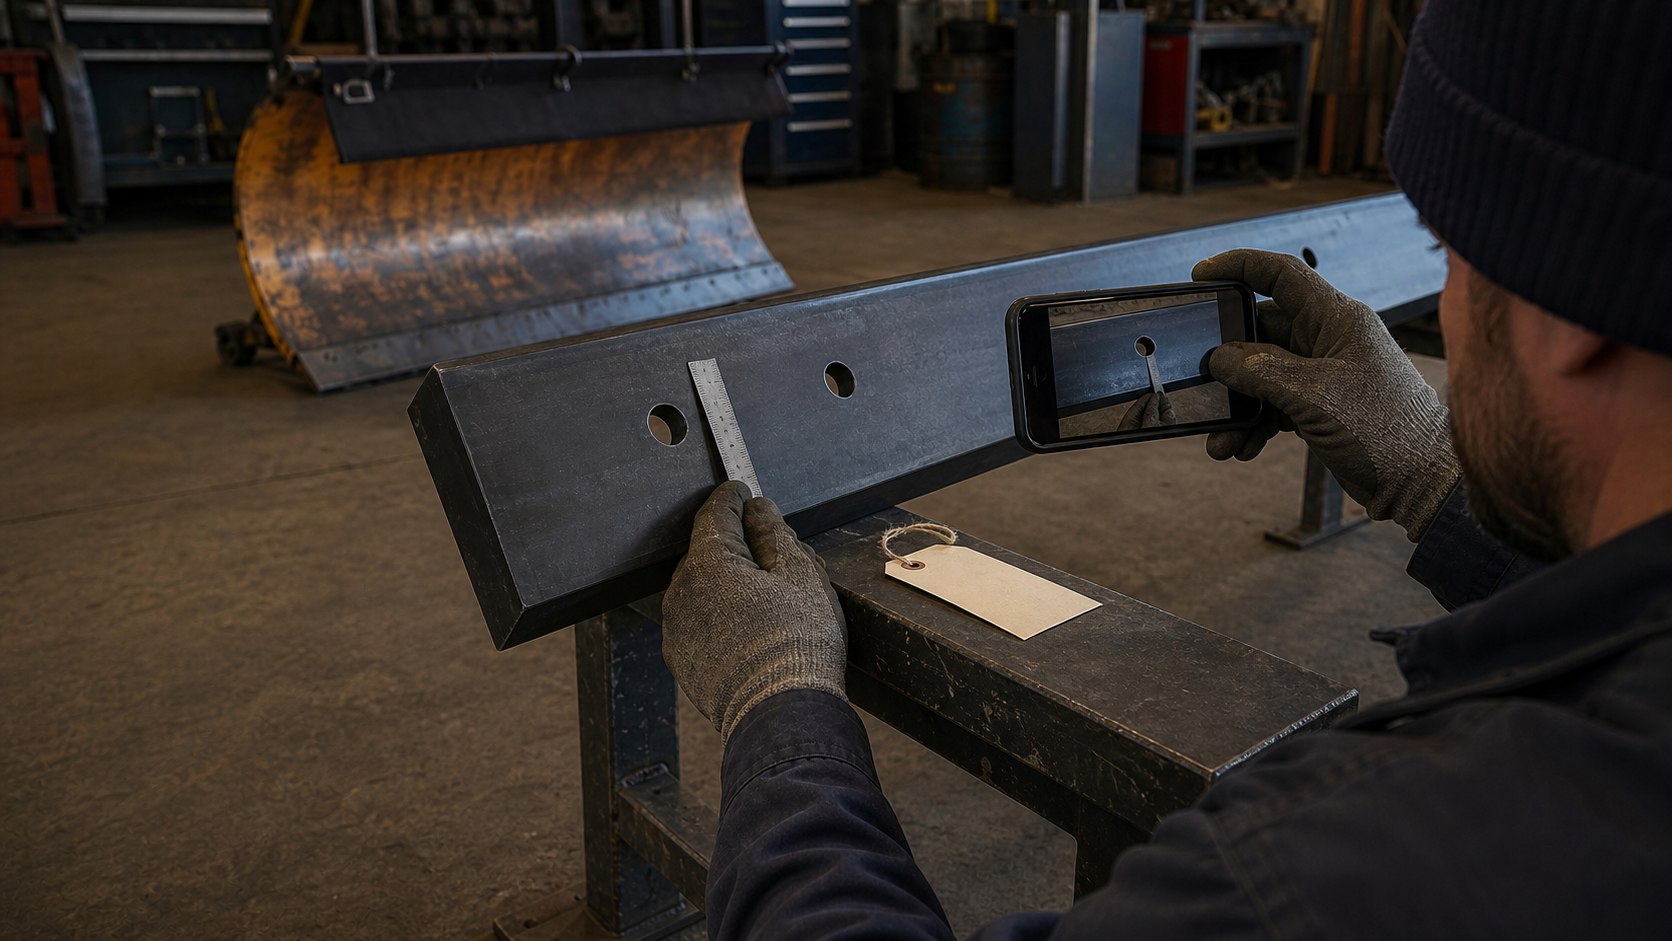
Clamp enough to hold it, not enough to stop it flexing
Correct torque holds the segment secure while leaving the rubber free to deform. Excess clamping pressure transfers load straight into the inserts.
Bolt patterns and hardware
Use the specified bolt diameter and grade, with the washers the design expects. Where the pattern allows, a larger washer spreads the clamping load across the rubber and reduces the chance of tearing around the hole.
- JOMA Blade Bolt Pattern: Holes Across Plow Makes
- how to Weld Joma Mounting Brackets Without Damaging the Rubber
- why Is the 1/8-Inch Gap Rule Critical for Mounting Joma Blade Sections
- what Are the Exact JOMA Blade Torque Specs for Mounting Hardware
- low-Vibration Rubber Mounted Snow Plow Blade System Benefits
- how JOMA Style Blade for Truck-Mounted Plows Drives OEM Quality and…
- steel vs. Joma-Style Blades: Why Your Winter Maintenance Budget Needs an…
- how Do Modular Joma Sections Handle Tight Turns
- what Is a 3 Foot Joma Blade
- how Do Joma Blades Save Your Truck’s Shocks from Snow Plow Suspension Damage
- how Do SENTHAI Joma-Style Blades Conquer Trans-Canada Highway Extremes
Segment alignment and joint gaps
Align segments along the moldboard and keep the end gaps consistent. A joint that closes completely in one place and opens in another concentrates load and localises wear, and it is the most common installation fault on this design.
- what’s the Correct Joma Blade Installation Gap? (Thermal Expansion Rule)
- how to Balance Your Snow Plow Moldboard After Installing a Joma Blade
- how to Install a Joma Blade on Any Plow? (Universal Adapter Guide)
- how Do Joma-Style Blades Handle Bridge Expansion Joints Without Hooking
- how to Install Joma Style Blades on Heavy-Duty Trucks
- how can Joma blades be crated to prevent rubber compression or tearing
- what Makes a JOMA Compatible Carbide Edge Blade Essential
- what Is a JOMA-Style Snow Plow Blade
- how Do You Plow Narrow Streets with Joma Precision
- why Do SENTHAI Joma-Style Blades Reduce Driver Strain by 70%
Check it after the first shift
Clamping pressure relaxes, rubber compresses and fasteners settle. A re-check after the first shift is what keeps the edge on the plow.
Torque re-check and inspection
Re-check the fasteners after the first shift and again after the first storm, looking for compression set in the rubber and any movement of the segment relative to the moldboard. Catching it early prevents a mid-route loss.
- how Commercial Contractors Maximize Billable Plow Time with JOMA-Style Blades
- where to Buy Joma 6000 Style Blades for Severe Winter Fleet Operations
- how Do Joma Blades Protect Truck Frames from Snow Plow Impacts
- JOMA Style vs. Standard Blades: A Performance Review for North American…
- how Much Do Joma Plow Blades Cost and Are They Worth the Investment
Height, pressure and contact
Set the edge so it reaches the surface at normal down-pressure without excessive clamping. A flexible edge set too high skips just as a rigid one does, and setting it too low wears the rubber body rather than the carbide.
- how Do Rubber Encasements Absorb Kinetic Energy in Joma-Style Snow Plow Blades
- what Determines Joma Style Blade Price
- how Does Joma Plow Snow From Sunken Lanes
- what Tools Do You Need for Joma Blade Tool Kit in the Field
- joma Plow Blade: Complete Guide To Articulating Snow Plow Cutting Edges
- JOMA Style Snow Plow Edge Serves City Service Fleets with Maximum Efficiency
JOMA fitment questions
Can I fit JOMA segments to any moldboard?
Fitment depends on the hole pattern, the moldboard width and whether the machine can hold the edge at the right height. Check it exactly as you would for a rigid edge.
What torque should the segment bolts be set to?
The figure specified for the design and bolt grade, then re-checked after the first shift. Over-torquing is a common mistake because it restricts the flex the design depends on.
Should the segment joints be touching?
Keep the gaps consistent along the blade rather than closing some and opening others. Uneven gaps concentrate load and localise wear.
Can segments be replaced individually?
Yes, and that is the main maintenance advantage. Match the replacement segment to the same length and compound as the rest of the blade.
Why did a segment come loose?
Usually relaxed clamping pressure, worn or undersized washers, or a hole that has elongated in the moldboard. Check the mounting surface before replacing the segment.
Segment selection
Choosing lengths and flex before you fit them.
Wear and replacement
When a segment is finished rather than worn.
Installation and mounting
The general installation checklist.
Fitment and hardware
Hardware choices that keep edges on.
Ask about fitting a segmented edge
Send the moldboard and mounting details and we will confirm the configuration and the clamping practice.
✓ Moldboard width and hole pattern
✓ Machine and mounting arrangement
✓ Surface conditions
✓ Quantity and destination
Email: [email protected]