




Wear and Damage
Holes and Slots
Steel, Carbide and Rubber
Photos and Identification
Use the applicable equipment manufacturer’s inspection and safety requirements. This checklist helps organize observations; it does not replace equipment-specific service limits or a qualified inspection.
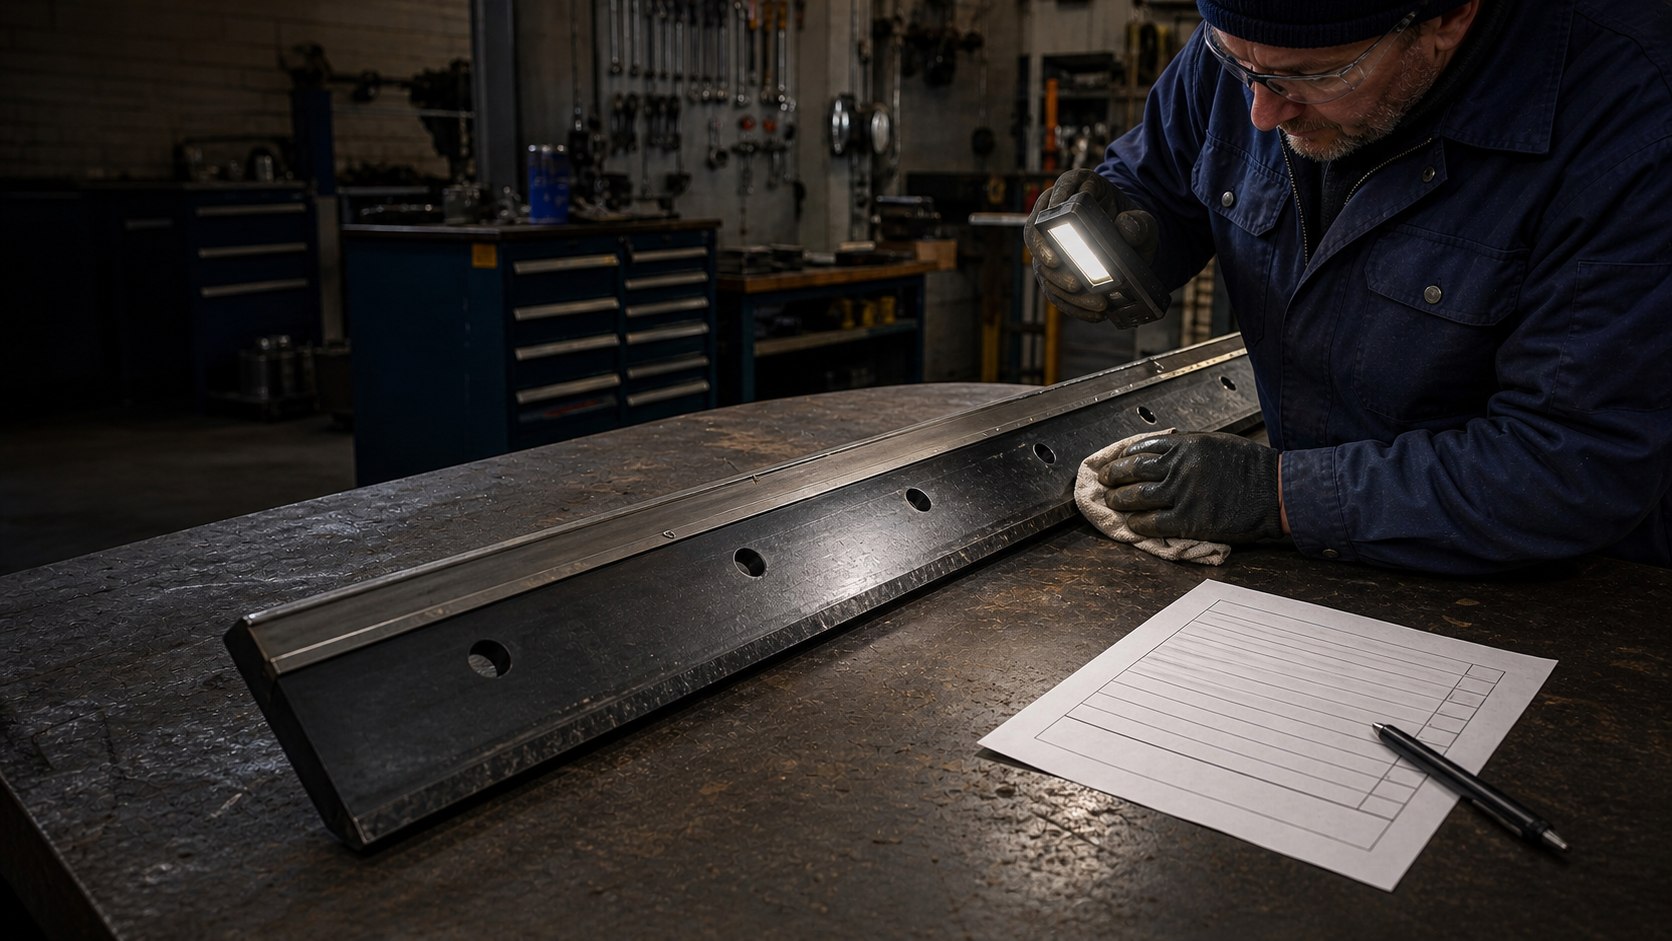
Look across the full edge for uneven wear, chips, cracks, distortion or sections that no longer follow the intended profile. Photograph both ends and any area that differs from the rest of the blade.
Inspect mounting holes, slots, backing surfaces and related hardware for visible elongation, deformation, cracking or corrosion. Record any feature that differs from the original drawing or an unworn reference.
Identify the construction before judging the condition. Depending on the blade, review the steel body, carbide inserts or segments, rubber body and other visible components for looseness, separation or damage.
Record any readable part number, drawing number, equipment information and current configuration. Note which details are confirmed and which still require measurement or engineering review.
Work in one direction and use the same blade orientation in every photograph so the record is easy to review.
Follow the equipment manufacturer’s safety and lockout procedure. Support the plow or removed blade securely before cleaning, touching or measuring any component.
Remove loose dirt, salt and debris with a method suitable for the equipment. Expose the cutting edge, mounting features and identification marks without damaging the surfaces.
Start at one marked reference end and work to the other. Compare adjacent areas for changes in edge profile, straightness, component condition and mounting features.
Take an overall front and back view, both end profiles and close-ups of every unusual area. Include a safe scale reference when the size of a feature is important.
Record confirmed dimensions, the operating application, current part number and configuration. Use the measurement guide when a replacement profile or mounting pattern must be documented.
Apply the equipment manufacturer’s acceptance criteria. Escalate uncertain, damaged or safety-related findings to the responsible maintenance professional, equipment manufacturer or qualified reviewer.
A useful inspection record shows where each finding is located and gives the reviewer enough context to understand the actual blade configuration.
✓ Overall front and back photographs
✓ Both end profiles and the full cutting edge
✓ Close-ups of wear, cracks, deformation or separation
✓ Mounting holes, slots and adjoining surfaces
✓ Part number, drawing number or equipment information
✓ Confirmed dimensions with the units clearly stated
Do not rely on a close-up alone. Pair every detail photograph with an overall view that shows its position on the blade.
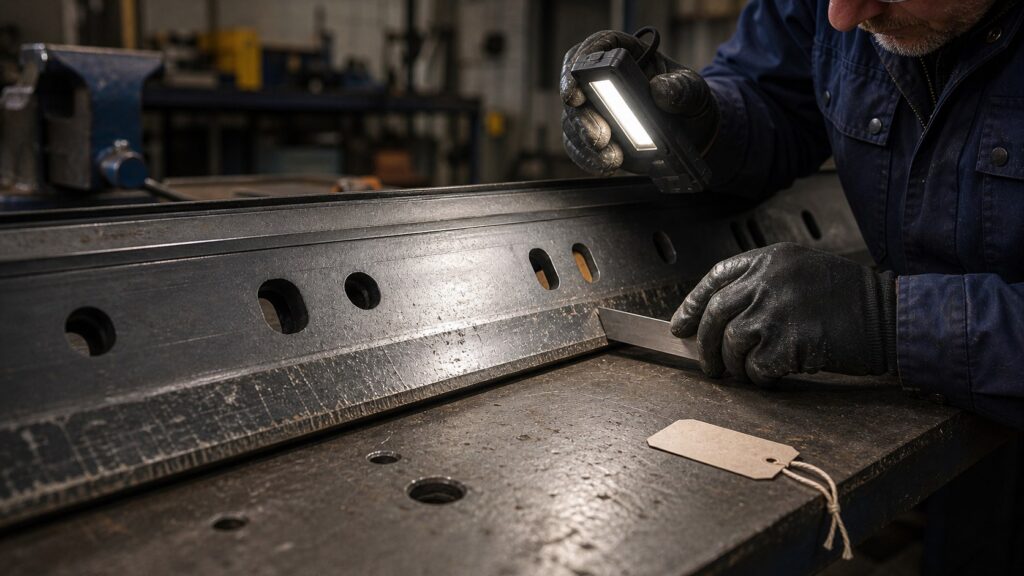
Illustrative workshop scene showing a preseason cutting-edge inspection.
The checklist organizes evidence. Final serviceability and replacement decisions still depend on the actual equipment, applicable specifications and responsible maintenance authority.
The blade identification, overall condition, mounting arrangement and photographs are clear. Apply the applicable equipment-specific criteria and keep the record with the maintenance history.
Add missing measurements, part numbers, drawings or close-ups before requesting a replacement review. Clearly identify dimensions affected by wear or damage.
Do not infer safety or continued service from this webpage. Route uncertain conditions, structural damage or equipment-specific questions to the responsible qualified reviewer.
If the inspection identifies an uncertain fit or a possible replacement requirement, document the blade before asking for pricing.
✓ Use the measurement guide for length, profile and hole pattern
✓ Provide the part number or current drawing when available
✓ Send overall photographs and close-ups of the findings
✓ State the required quantity and delivery destination
Use these answers to prepare a useful record without assuming a universal service limit.
No. The decision depends on the blade design, actual condition, equipment manufacturer’s criteria and responsible maintenance review. Document the wear and apply the requirements for the specific equipment.
Show the overall blade, cutting edge, mounting features and the visible condition of the steel segments, carbide inserts and rubber body. SENTHAI’s product page identifies those as the main elements of its JOMA-style construction.
No. Photographs explain the condition and orientation, but confirmed dimensions, units and mounting-hole information are still needed when the replacement configuration is uncertain.
No universal limit is provided on this page. Use the equipment manufacturer’s requirements and the applicable maintenance authority for the specific blade and plow configuration.
Send the part number or drawing when available, blade dimensions, mounting details, overall photographs, close-ups of findings, required quantity and delivery destination.
Send the information you currently have and identify any dimensions or conditions that still need confirmation.
✓ Blade and equipment identification
✓ Overall and close-up photographs
✓ Confirmed dimensions or drawing
✓ Required quantity
✓ Delivery country or destination
Email: [email protected]