




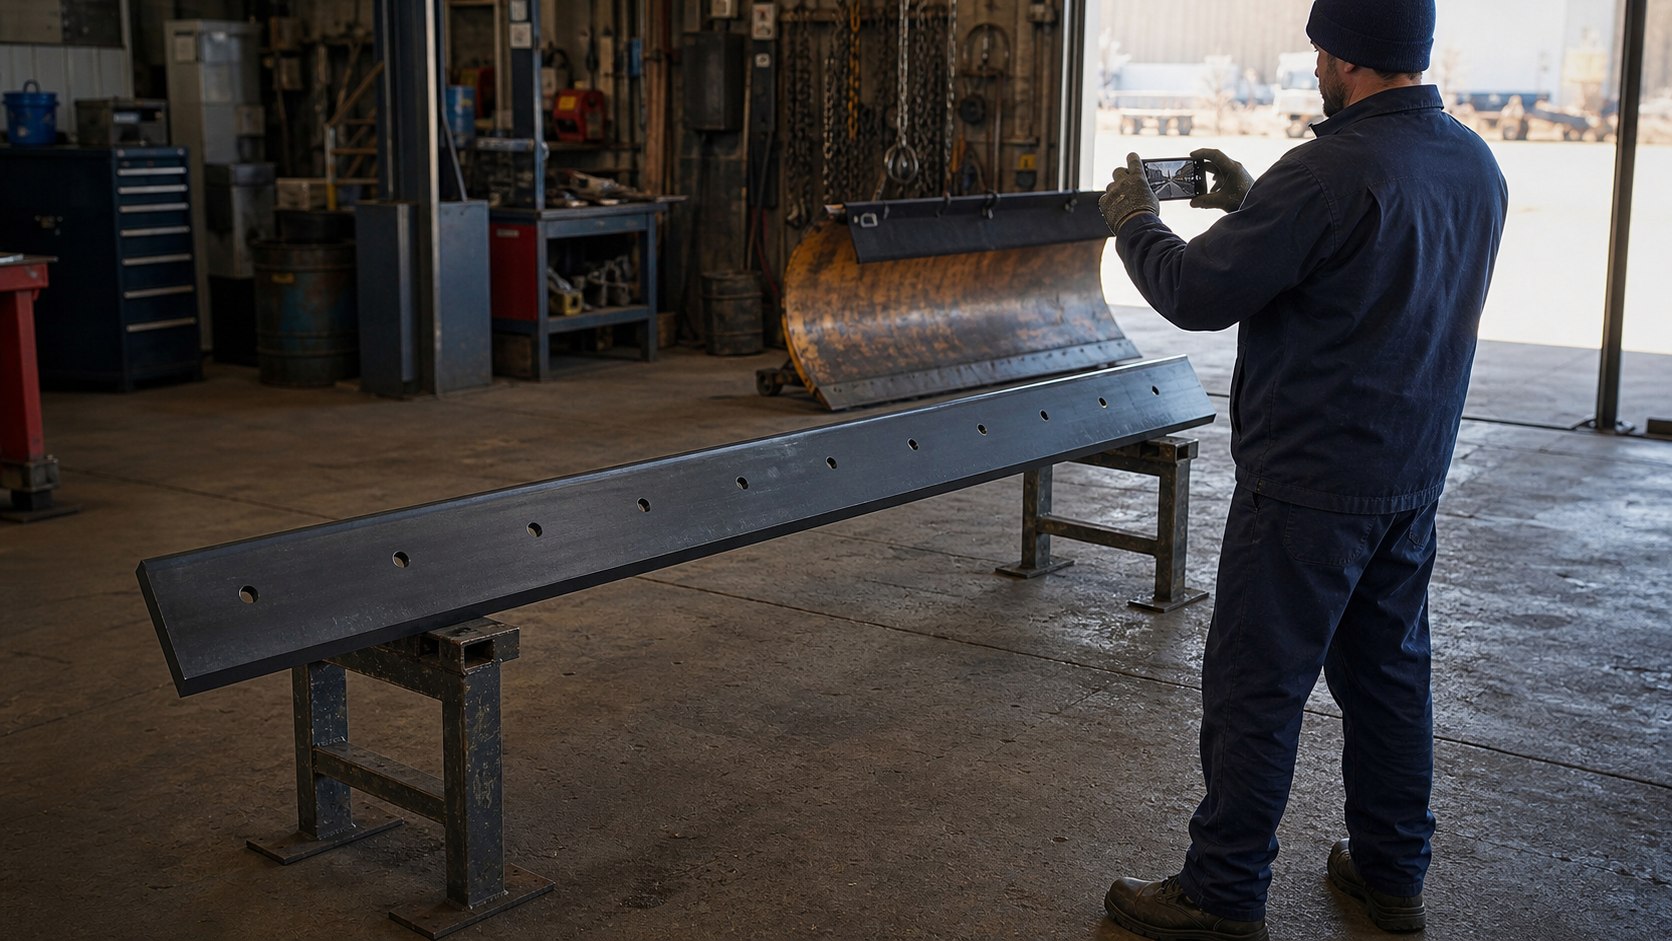
Overall
Front and Back
Profile
Both Blade Ends
Mounting
Holes and Slots
Identity
Numbers and Context
Six Essential Snow Plow Blade Photographs
Keep one reference end consistent throughout the photo set. Use clear, evenly lit images and show the whole blade before moving to close-up details.
01
Complete Front View
Photograph the entire blade from one end to the other. Keep the camera approximately square to the blade so the length, cutting edge and visible components are not hidden by perspective.
02
Complete Back View
Show the opposite side at a similar angle and distance. Include backing surfaces, mounting features and any components that are not visible from the front.
03
Left End Profile
Photograph the blade end straight on. Show the profile, height, thickness and relationship between visible steel, carbide, rubber or backing components as applicable.
04
Right End Profile
Repeat the end-profile photograph on the other side. Differences between the two ends may help explain wear, orientation or an asymmetric configuration.
05
Mounting-Hole Detail
Show several holes or slots together so their pattern is visible, then add close-ups with a safe scale reference. Photograph unusual spacing, unused holes or adapters separately.
06
Identification and Context
Photograph readable part numbers, labels or drawing references. Add an overall installed view when it can be obtained safely, but do not use the equipment model alone as proof of the installed blade.
A Reliable Photo-Capture Sequence
Follow the same order for every blade so the file set remains easy to understand and compare.
01
Make the Blade Safe
Follow the equipment manufacturer’s safety procedure. Support the blade securely and clean the areas that need to be photographed.
02
Set the Orientation
Choose and mark a reference end. Keep that same left-to-right orientation in the photographs, sketch and measurements.
03
Capture Overall Views
Step back far enough to include the full blade. Avoid cropping the ends or covering the cutting edge with tools, hands or other equipment.
04
Add Details and Review
Take the profile, mounting and identification close-ups. Check focus, orientation and completeness before moving or reinstalling the blade.
Show Scale Without Hiding the Feature
A close-up is most useful when the reviewer can see both the feature and its position on the blade.
✓ Place the ruler beside the feature, not over it
✓ Keep the scale and blade surface in the same plane
✓ Include one wider photograph showing the location
✓ Photograph holes or slots square to the camera
✓ Keep units visible in the accompanying notes
✓ Send confirmed dimensions separately from the photographs
Photographs support identification, but they do not replace a dimensioned drawing or reliable physical measurements.
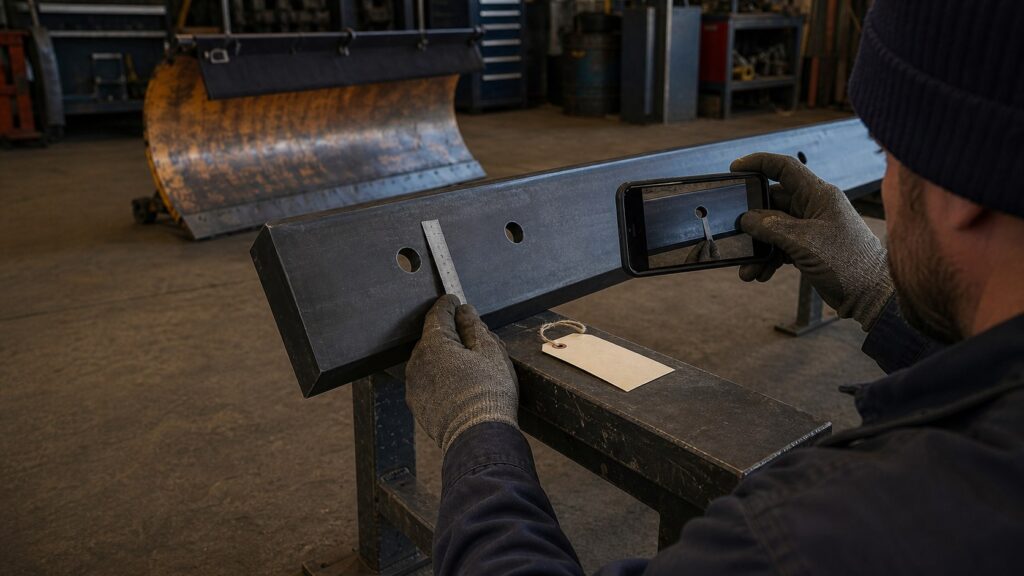
Illustrative view of a mounting-feature photograph with a scale reference.
Common Photo Problems That Delay Identification
Most missing information can be avoided by combining overall views, consistent orientation and confirmed measurements.
Only Close-Ups
A detail image without an overall view does not show where the feature is located or how it relates to the full blade.
Cropped Blade Ends
Missing ends can hide the profile, total arrangement or the distance between mounting features and the blade edge.
Changing Orientation
Flipped or rotated images make it difficult to compare the front, back, ends, drawing and measurement record.
No Confirmed Scale
Perspective and lens distortion can make a photograph misleading. Send physical dimensions with stated units instead of estimating from the image.
Replacement Photo Submission Checklist
Before requesting a quotation or identification review, confirm that the package includes:
✓ Complete front and back photographs
✓ Left and right end profiles
✓ Mounting holes, slots and adapters
✓ Part number or drawing reference, when available
✓ Confirmed dimensions with units
✓ Required quantity and delivery destination
SENTHAI’s JOMA-style product page states that customization can be reviewed from drawings, samples or required specifications. Photographs help explain the requirement but should be paired with the available technical information.
Snow Plow Blade Photo Questions
Use photographs to show construction and context, then confirm the requirement with measurements or drawings.
Can SENTHAI identify a replacement blade from one photograph?
One photograph is usually not enough to confirm the full configuration. Send overall front and back views, both end profiles, mounting details, identification information and confirmed dimensions.
Should the blade be photographed installed or removed?
An installed view helps show context when it can be obtained safely. A securely supported removed blade usually makes the complete profile, mounting features and both sides easier to document. Follow the equipment manufacturer’s safety procedure.
Can a ruler in the photograph replace measurements?
No. A ruler helps communicate scale, but perspective can distort the image. Record physical dimensions separately and state the units clearly.
What if no part number is readable?
Send the complete photo set, confirmed blade and mounting dimensions, equipment information and any existing drawing, purchase record or physical sample available for review.
Do photographs guarantee replacement compatibility?
No. Photographs support identification. Final feasibility, configuration, compatibility, quantity, pricing and delivery terms must be confirmed for the actual requirement.
Request a Photo and Replacement Review
Send the information currently available and identify any details that still need confirmation.
✓ Overall and detail photographs
✓ Blade dimensions and mounting pattern
✓ Part number, drawing or equipment information
✓ Required quantity
✓ Delivery country or destination
Email: [email protected]