




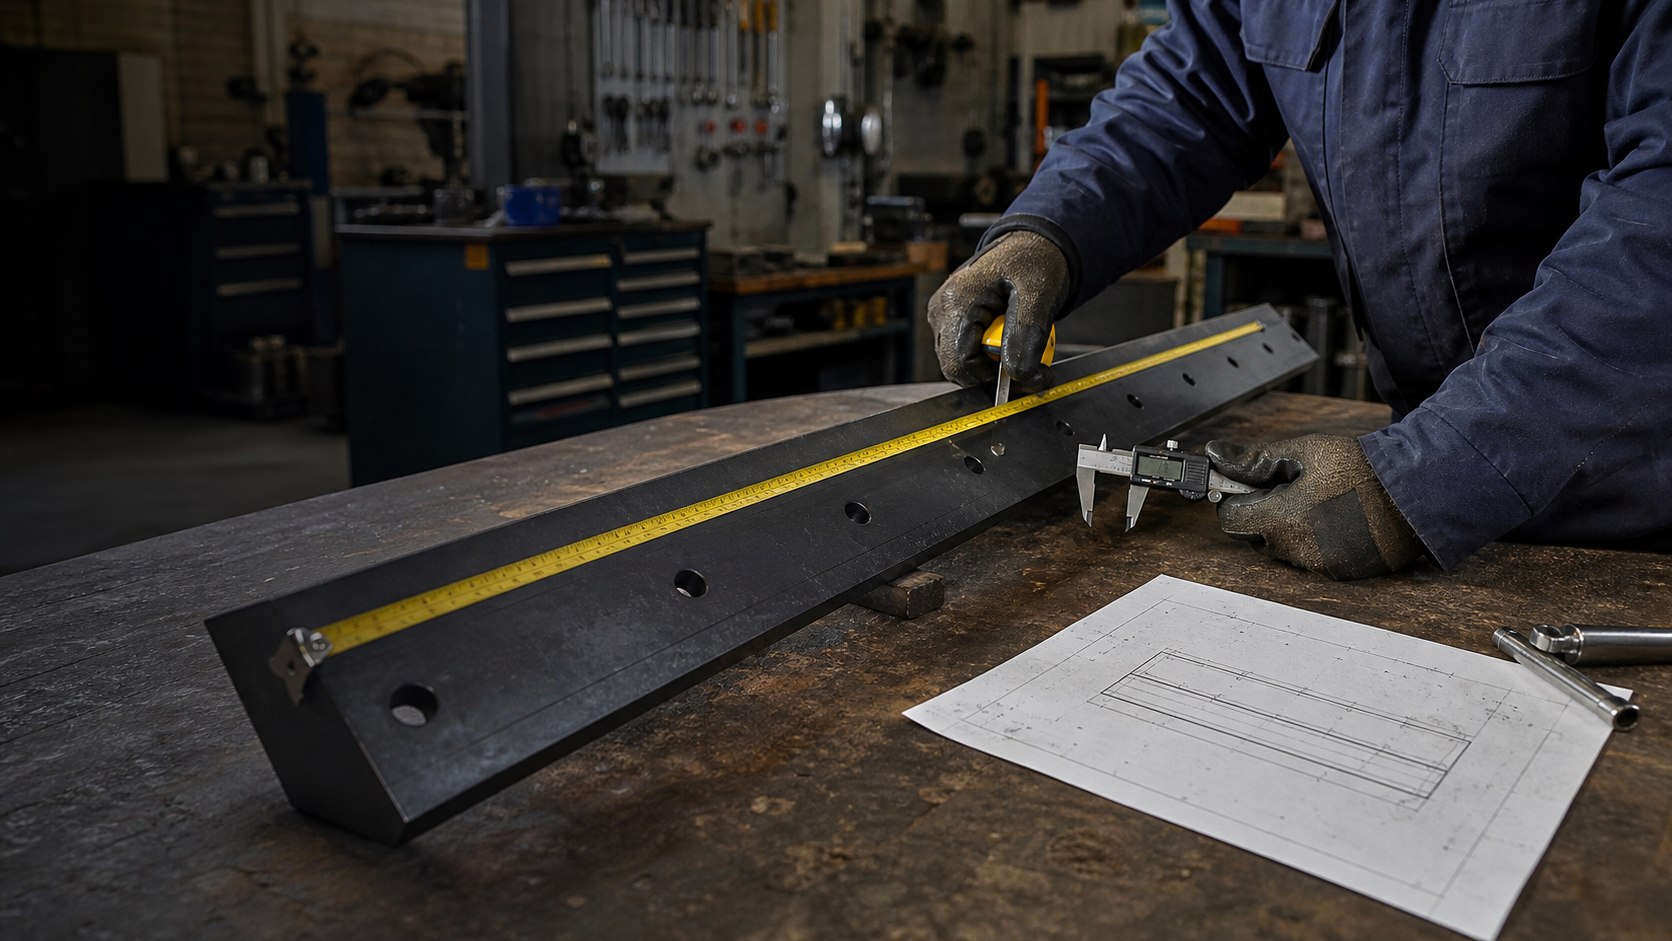
End to End
Height and Thickness
Diameter and Shape
Center to Center
Measure the existing blade whenever it is safe to remove and inspect. Use the same unit throughout the worksheet and do not estimate dimensions from a photograph alone.
Measure from one physical end of the blade section to the other. If the assembly contains several sections, record both the individual section length and the total installed arrangement.
Record the vertical height of the blade and the material thickness at a representative, unworn location. Note any step, backing plate or profile feature that changes the cross-section.
Measure the diameter of round mounting holes. If a hole is slotted, record its length and width and show the slot orientation in a photograph or drawing.
Measure from the center of one mounting hole to the center of the next. Record every interval if the spacing is not uniform, plus the distance from each end to the nearest hole center.
Follow one reference direction from the same end of the blade so the dimensions and photographs can be compared without ambiguity.
Follow the equipment manufacturer’s safety procedure. Support the blade securely and clean the measurement surfaces before recording dimensions.
Mark the left or right end as the starting reference. Keep that orientation consistent in the worksheet, drawing and photographs.
Measure length, height and thickness. Photograph the front, back, end profile and any backing or adapter components.
Count the holes and record diameter or slot size, center-to-center spacing, end-to-first-hole distance and vertical position on the blade.
Record any readable part number and the plow or equipment make and model. Do not assume the model alone confirms the installed blade.
Check that units are shown, dimensions are readable, photographs follow the same orientation and unusual features are clearly identified.
The hole pattern is more than a single spacing value. A useful record identifies every feature needed to reproduce or review the mounting arrangement.
✓ Total number of mounting holes
✓ Round-hole diameter or slot length and width
✓ Center-to-center distance between adjacent holes
✓ Distance from the reference end to each hole center
✓ Vertical distance from a consistent blade edge
✓ Any irregular spacing, offset or unused hole
For round holes, measure between the hole centers rather than only from one near edge to the next. Use the same reference end and blade edge for every recorded position.
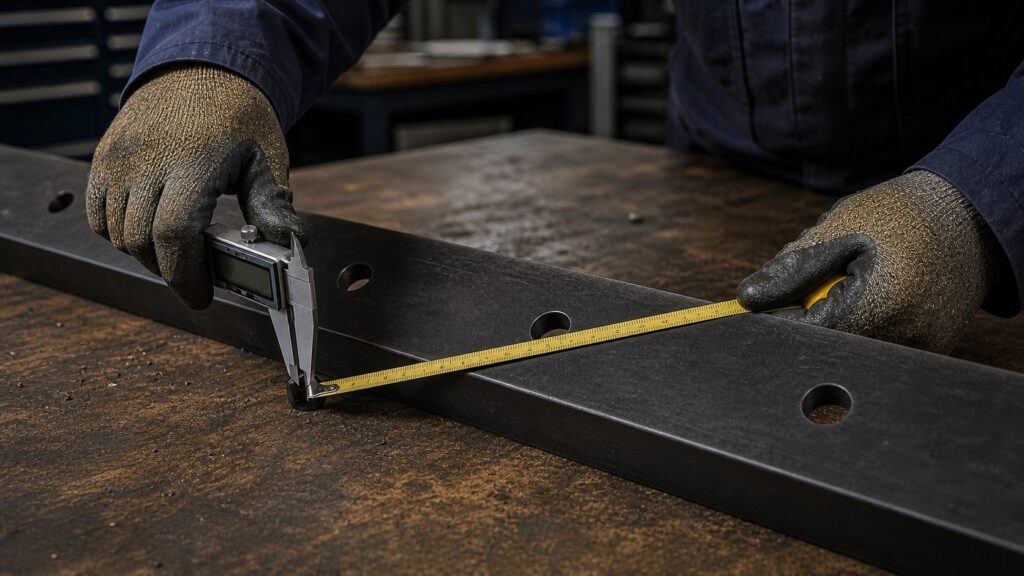
Illustrative view of mounting-hole diameter and center-spacing measurement.
Measurements are easier to review when the orientation and mounting arrangement are visible.
✓ Entire blade from the front
✓ Entire blade from the back
✓ Both end profiles
✓ Mounting holes with the measuring tool visible
✓ Part number or identification marks
✓ Blade installed on the plow, if safely accessible
✓ Existing product drawing
✓ Dimensioned hand sketch
✓ Equipment or plow model information
✓ Current supplier part number
✓ Purchase specification, if applicable
✓ Notes about the operating condition
Before requesting a quotation, confirm that the following information is included:
✓ Overall length, height and thickness with units
✓ Hole count, diameter or slot dimensions
✓ Center-to-center spacing and end offsets
✓ Part number and plow information, if available
✓ Photographs showing orientation and mounting
✓ Required quantity and delivery destination
A measurement review helps prepare the discussion, but final compatibility, configuration and commercial terms must be confirmed for the actual requirement.
Collect the physical dimensions first, then confirm the replacement requirement through a product review.
No. Height, thickness, mounting-hole diameter, center-to-center spacing, end offsets, blade construction and mounting arrangement also need to be reviewed.
Record center-to-center spacing. Also provide the hole diameter or slot dimensions and the distance from a consistent reference end to the hole centers.
Measure at the least-worn locations and clearly identify dimensions that may be affected by wear. Include photographs, the part number and an existing drawing or unworn sample when available.
Photographs help explain the construction and orientation but usually do not provide reliable scale by themselves. Send both measurements and photographs.
No. The information supports a review. Final feasibility, compatibility, specification, quantity, price and schedule must be confirmed for the actual requirement.
Send the information you currently have. Clearly state which measurements are confirmed and which still need review.
✓ Blade dimensions and hole pattern
✓ Part number or plow information
✓ Drawing, sketch or photographs
✓ Required quantity
✓ Delivery country or destination
Email: [email protected]